In January, I decided I wanted to do a hut-to-hut hike — something long enough to feel like an adventure but doable on my own. After a lot of research, I landed on the Alta Via 1 in the Italian Dolomites and spent the next few months planning every detail myself. It’s a lot of work to organise but it was completely worth it!
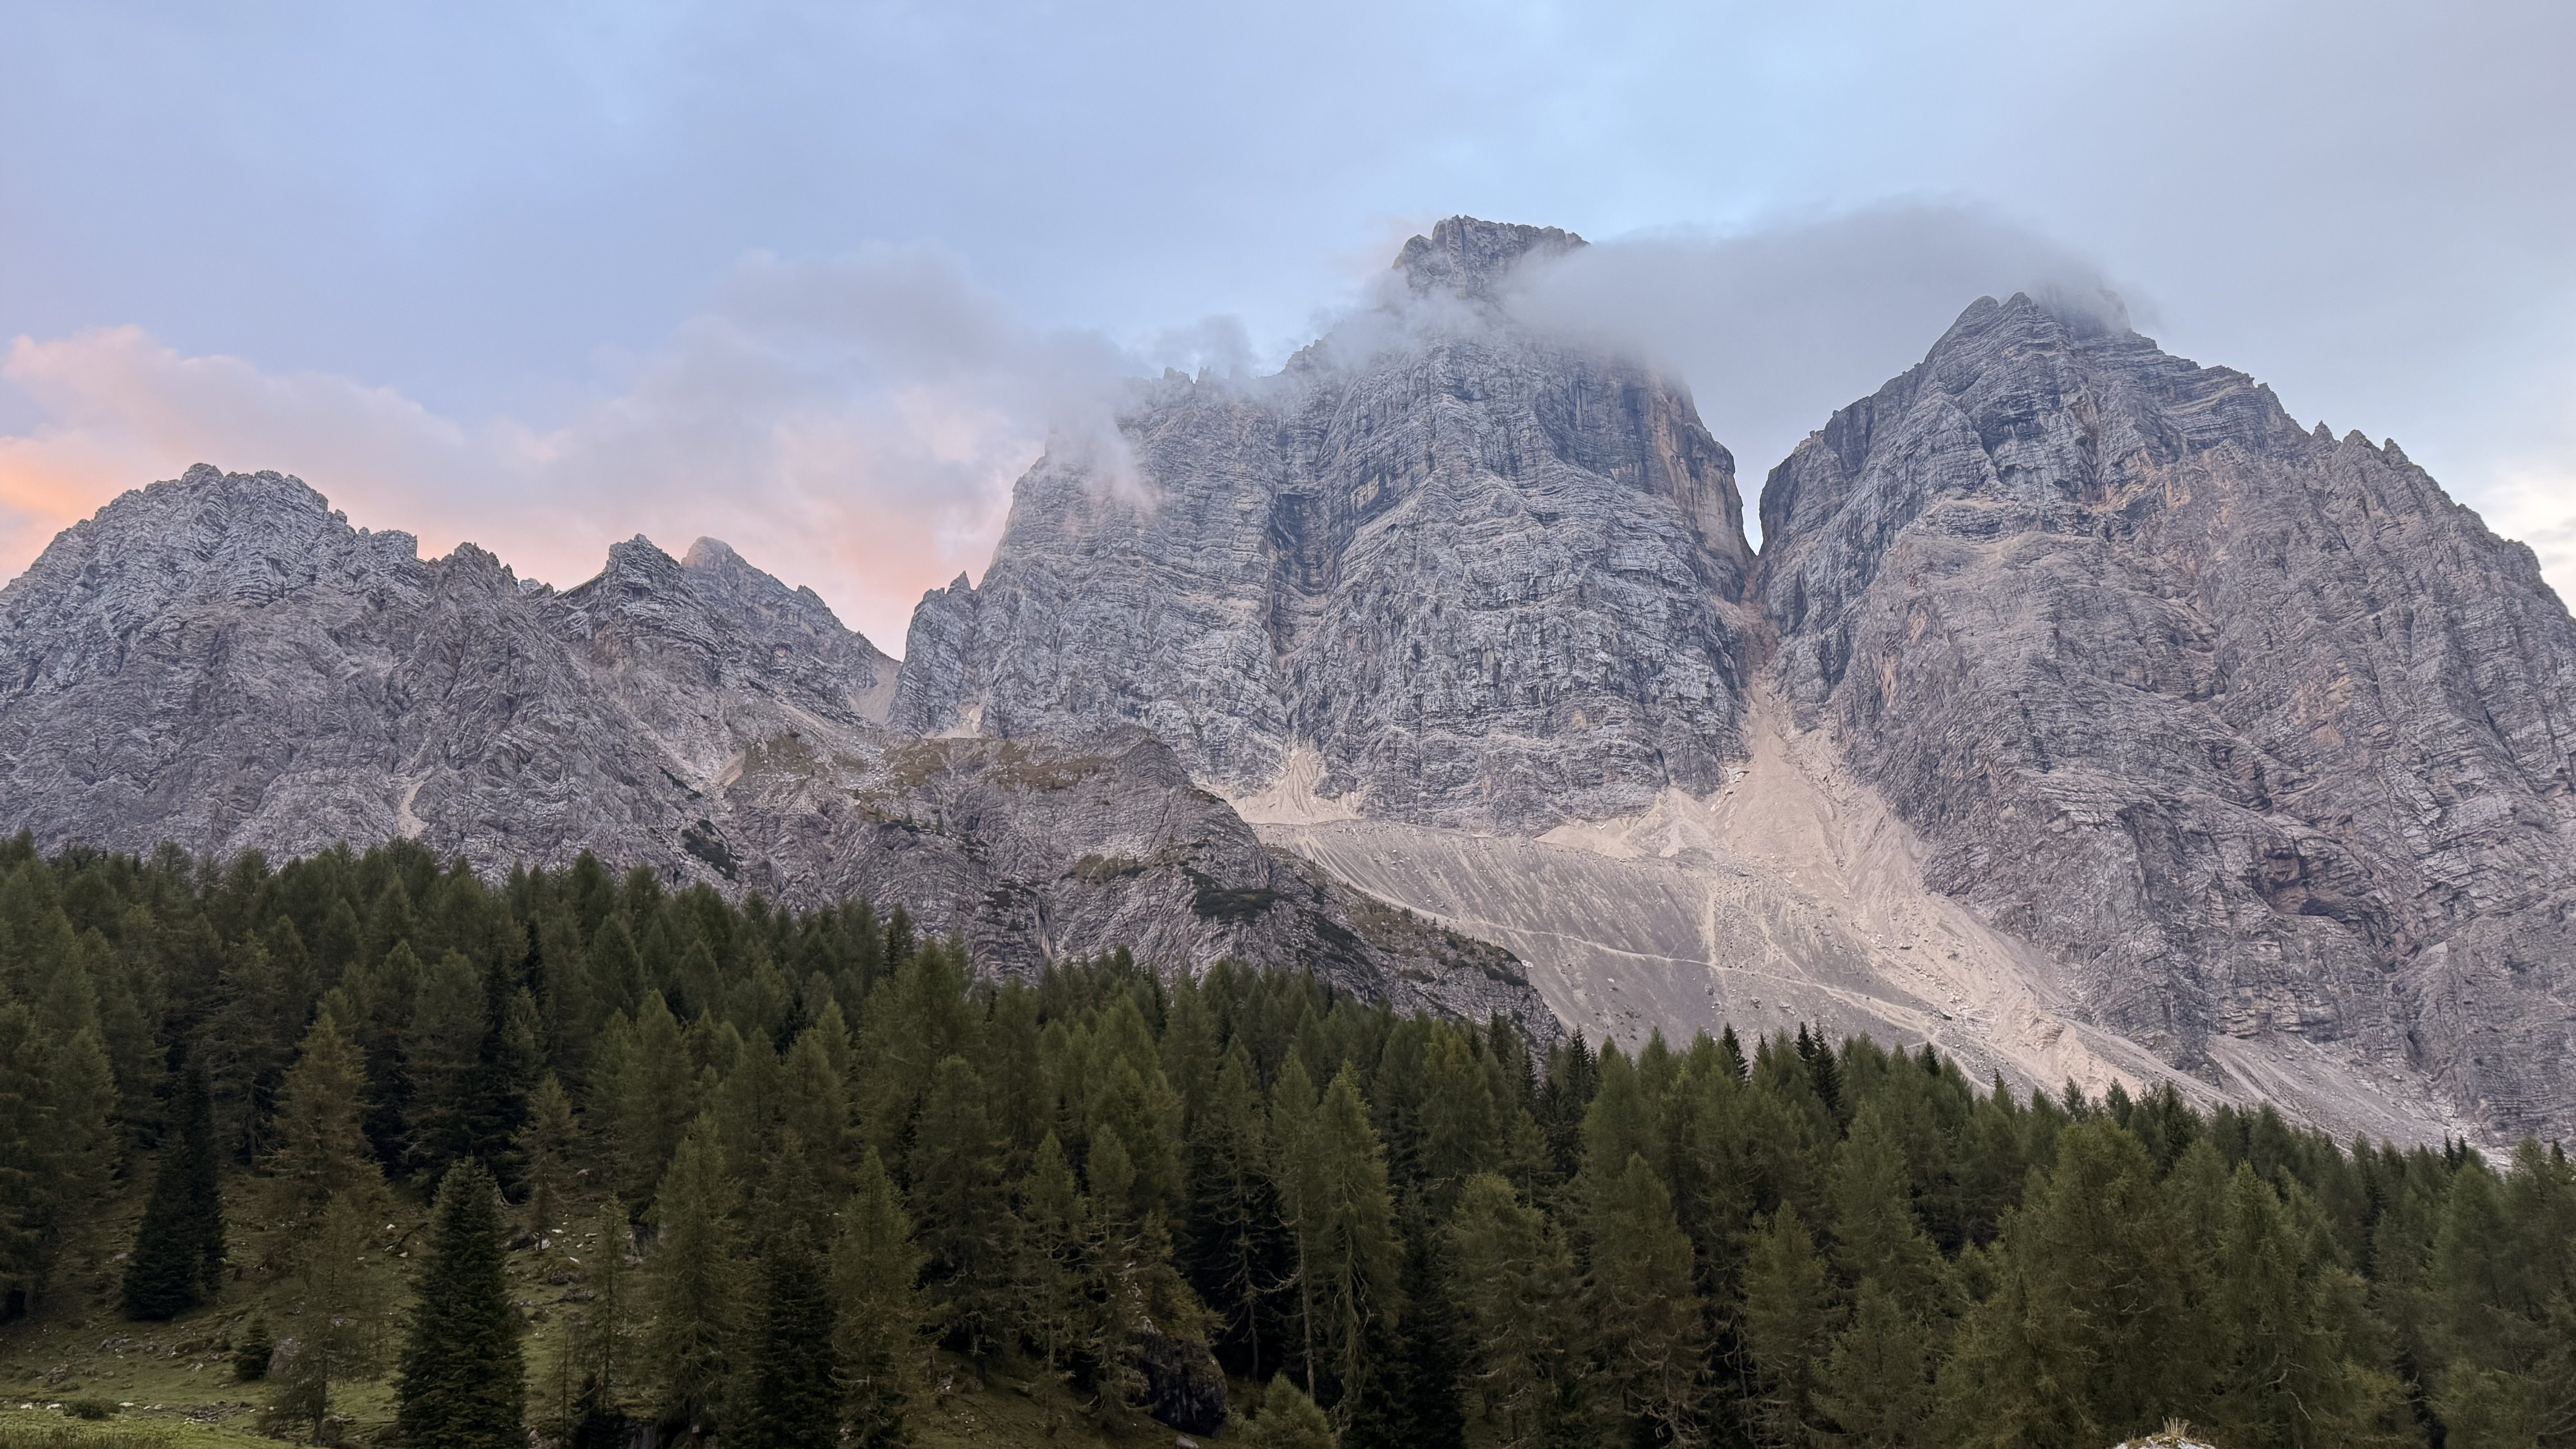
I hiked the Alta Via 1 solo from September 9th to September 18th, and honestly, it was one of the best experiences of my life. Even though I started alone, I met so many incredible people along the way — hikers from all over the world who quickly became trail friends. We shared dinners, stories, sore feet, and laughter every night in the mountain huts.
If you’re thinking about doing a solo hiking adventure, this is the one. It’s stunning, safe, well-marked, and full of friendly faces.
Here’s my full 10-day itinerary, including how I got there, where I stayed, and everything in between.
Start & Finish
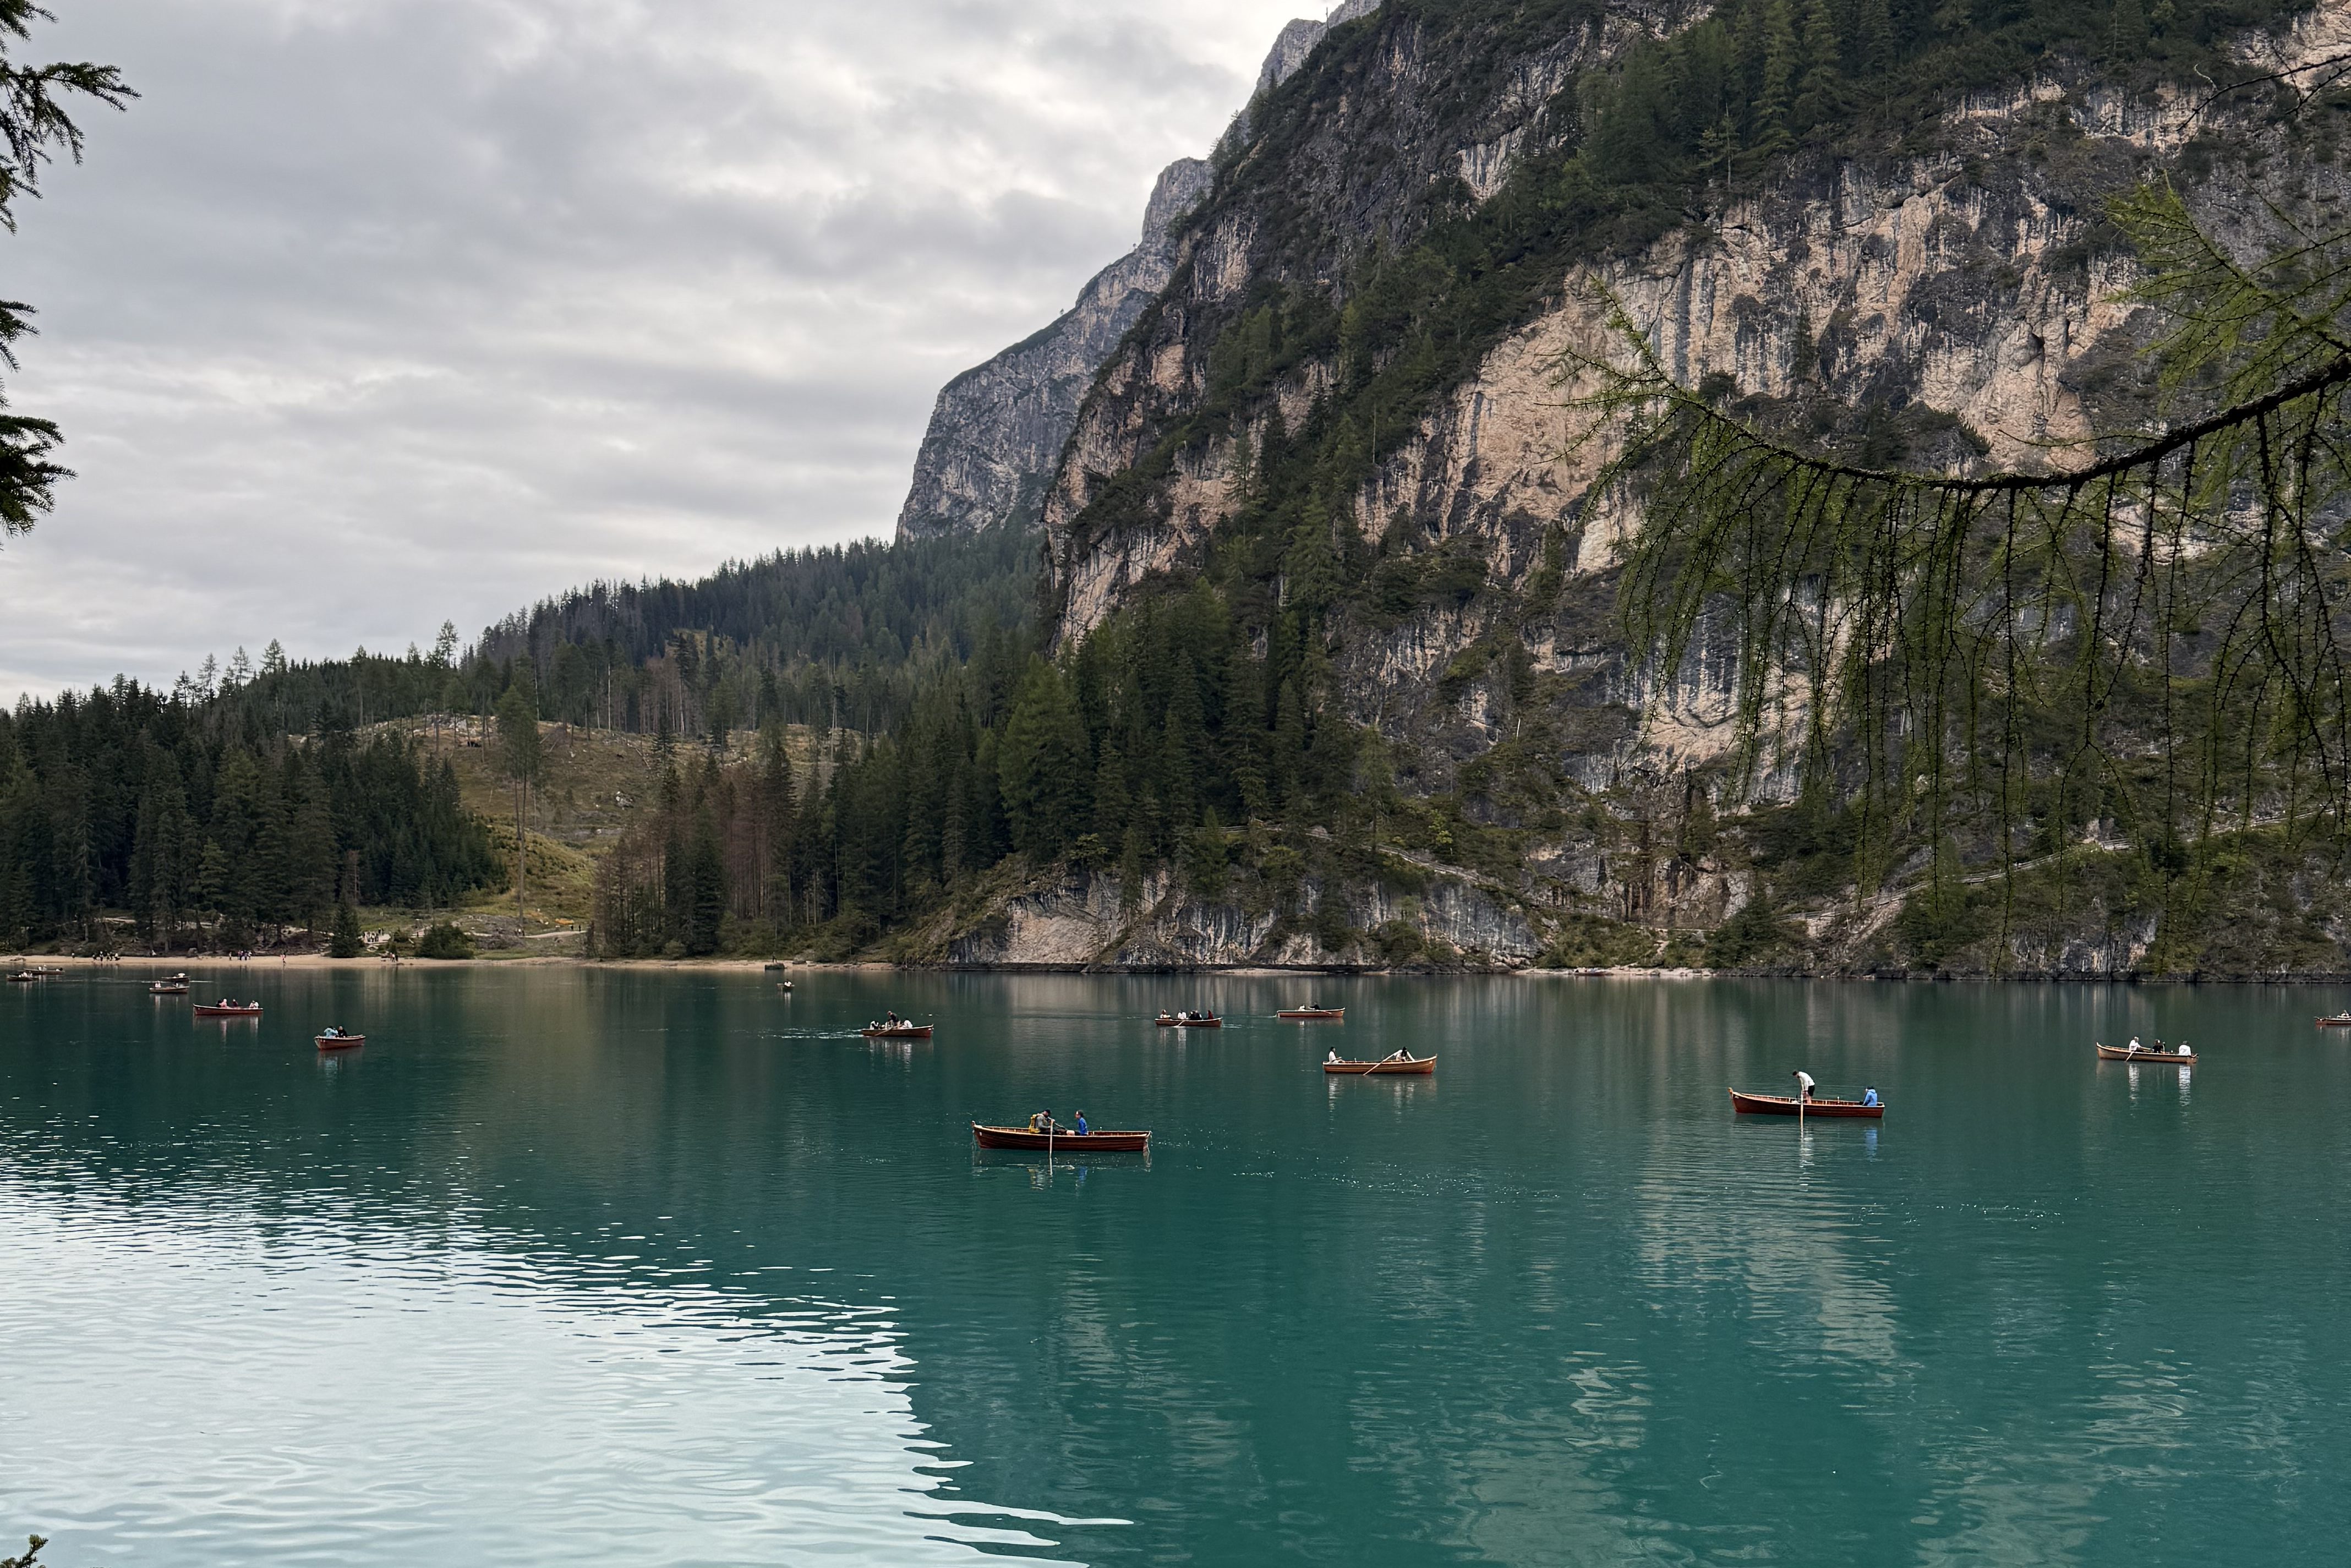
Start: Lago di Braies
End: La Pissa bus station (from here you can take a bus to Agordo or Belluno)
How to Get to the Start
Fly into Venice
If you fly into Venice Treviso, take a bus from the airport to Venice Mestre (no pre-booking needed — you can buy the ticket at the airport when you arrive).
From Venice Mestre, take the Cortina Express to Cortina d’Ampezzo, booked in advance through the Cortina Express website.
If you fly into Venice Marco Polo, it is even easier — the Cortina Express stops right at the airport.
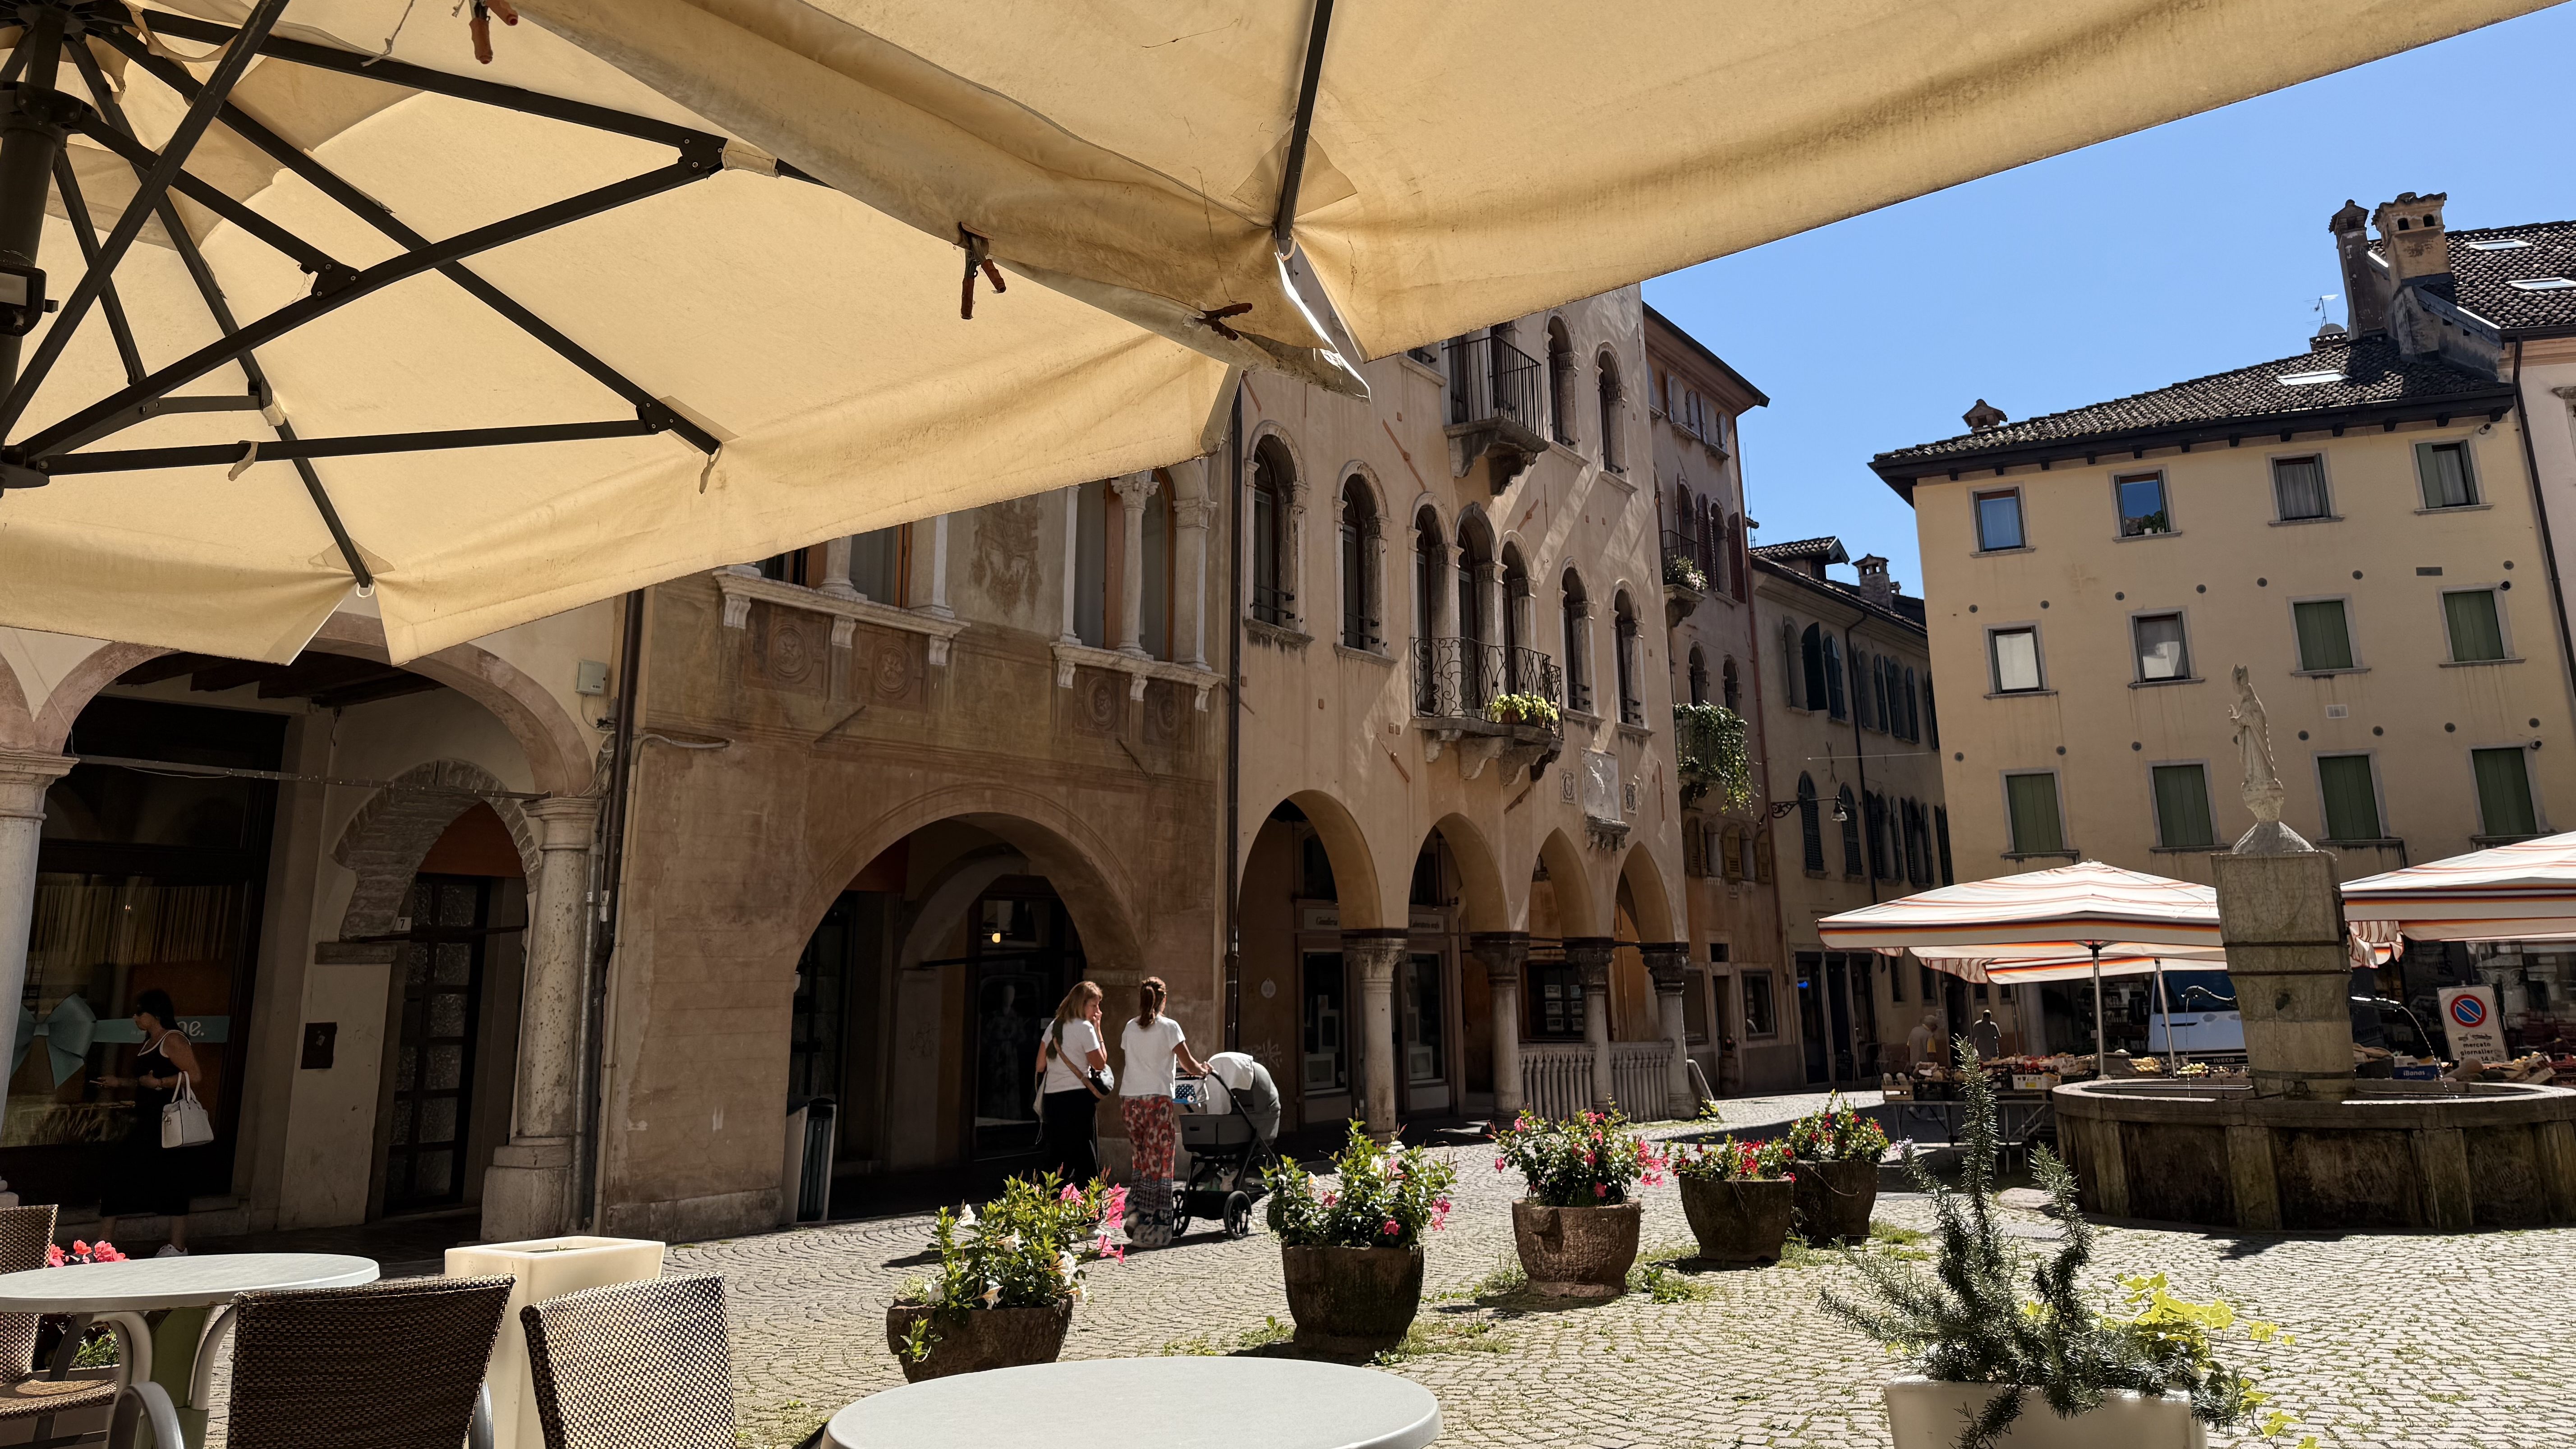
Most hikers spend a night in Cortina d’Ampezzo before starting. It’s a beautiful little alpine town with great food, outdoor stores, and a lovely atmosphere. If you don’t want to fly with trekking poles, you can also rent them locally.
Getting to Lago di Braies
To reach Lago di Braies from Cortina d’Ampezzo, you’ll take two buses:
- Bus 445: Cortina → Dobbiaco
- Bus 442: Dobbiaco → Lago di Braies
Bus 445 (Cortina → Dobbiaco)
No booking needed — tickets can be bought onboard with cash or card (contactless). In 2025, the first bus left Cortina at 8:20 am, arriving in Dobbiaco at 9:05 am. Catch this one if you can as the next bus isn’t until 10:20am.
Bus 442 (Dobbiaco → Lago di Braies)
During summer (June–early September), booking is required via the Prags website. If you take the 8:20 bus from Cortina, you can catch the 9:16 am Bus 442 and reach Lago di Braies by 9:44 am.
Where to Stay Before the Start
You can stay in Cortina, Dobbiaco, or even right at Lago di Braies.
- Cortina is charming and lively — great food, cute shops, fun to explore.
- Dobbiaco or Lago di Braies let you start early and see the lake before crowds arrive, when it’s still and glassy.
Personally, I stayed in Cortina, and I’m really glad I did as I really enjoyed the city!
How to Plan the Hike
There are plenty of online resources, but having a guidebook makes a big difference — I really enjoyed checking the guidebook each evening and planning for the day ahead.
I brought the Cicerone guidebook:
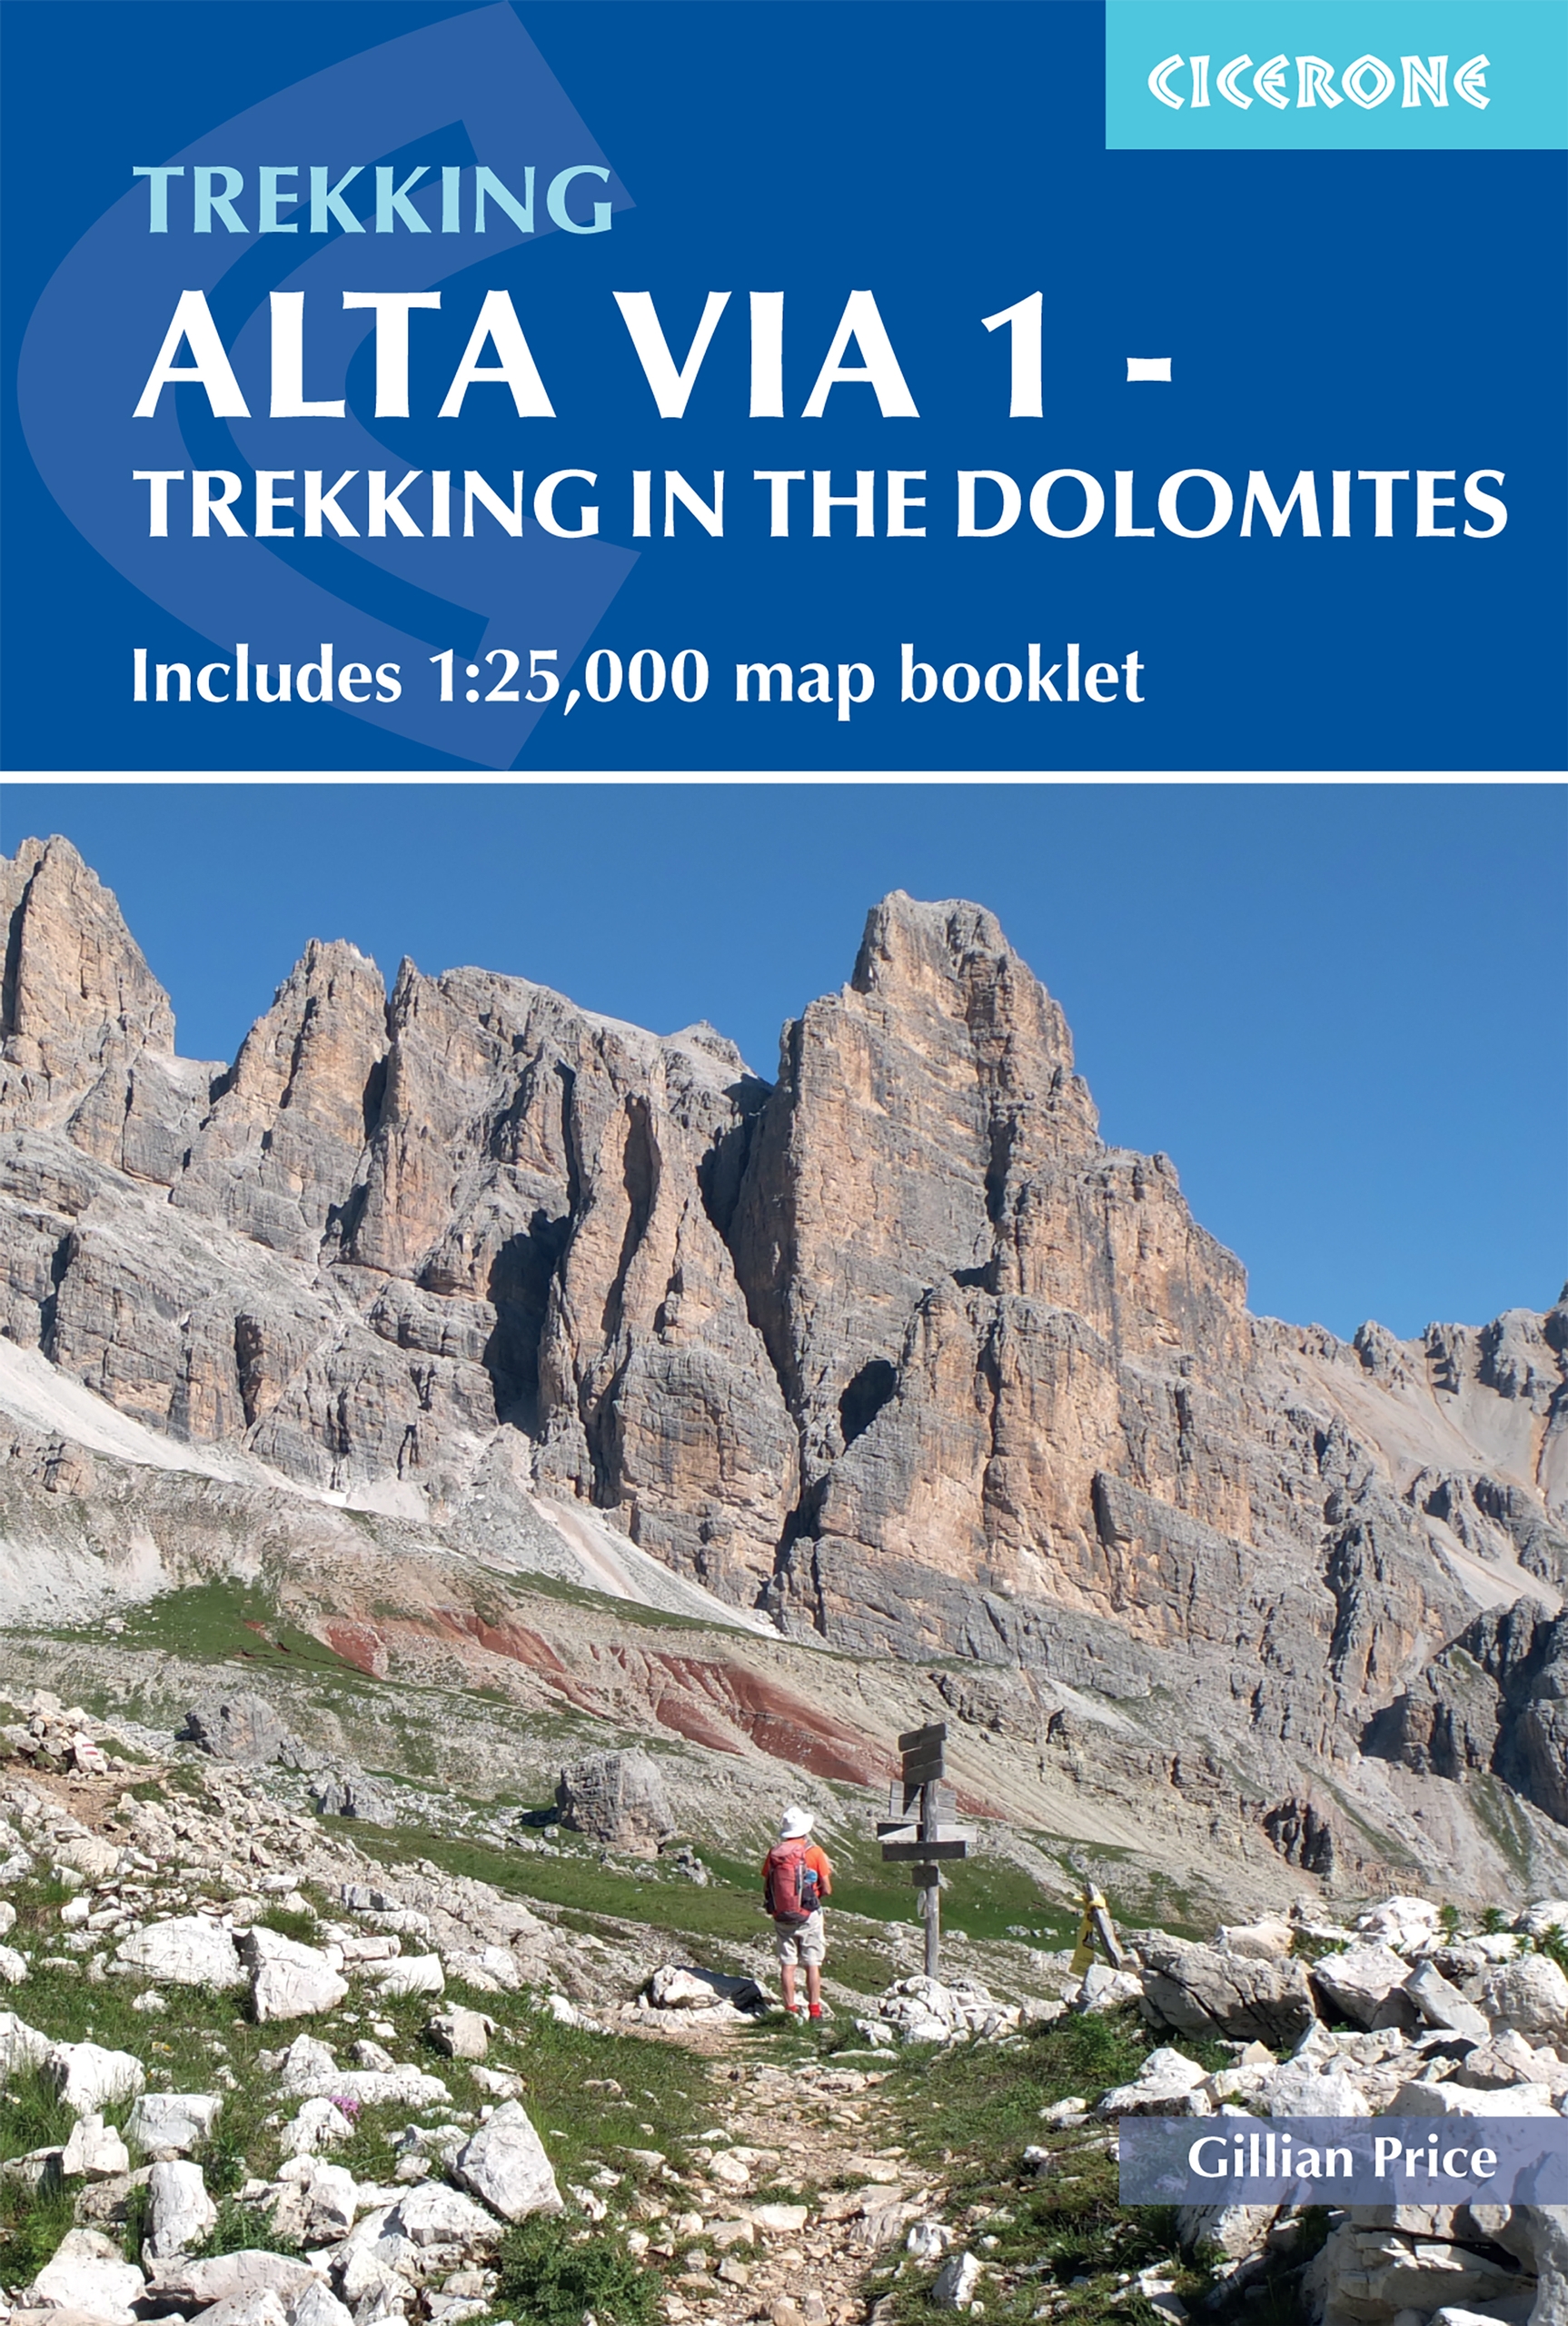
It was helpful but rigid in how it divided the stages and only useful if you are following the stages exactly as the book prescribes.
A guidebook I found later (and much preferred and recommend) was the Knife Edge’s guidebook:
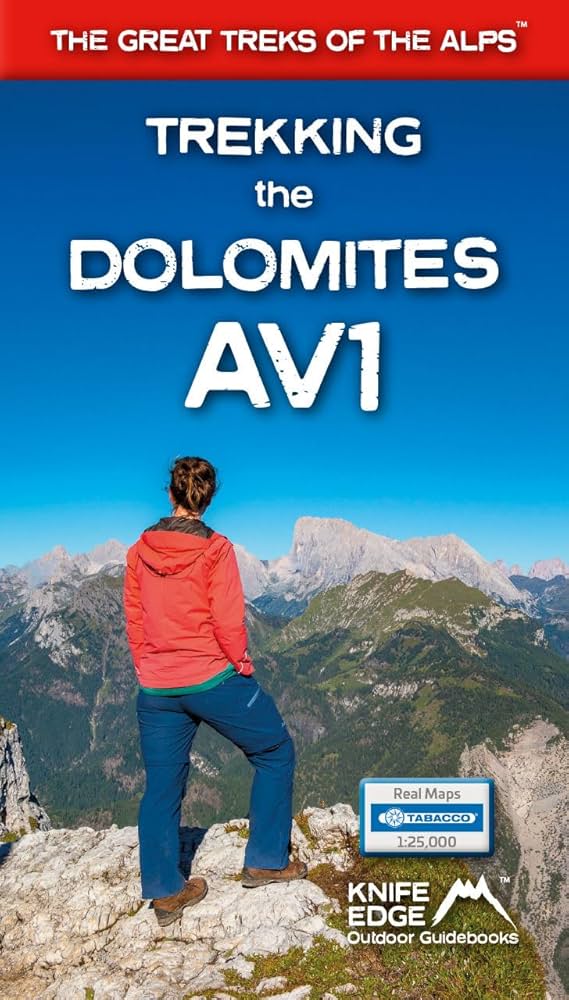
It breaks the route down into smaller, customisable sections and so it is perfect for all hikers.
Navigation
Offline navigation is essential — signal is spotty.
I used the GPX file that came with the Cicerone guide and imported it into Gaia GPS. It worked great for tracking, though it didn’t show an elevation profile. If you’d like that feature, try other apps or load the GPX file into your Coros or Garmin watch.
The Alta Via 1 is generally well signposted, but I felt better having my own map and checked it often.

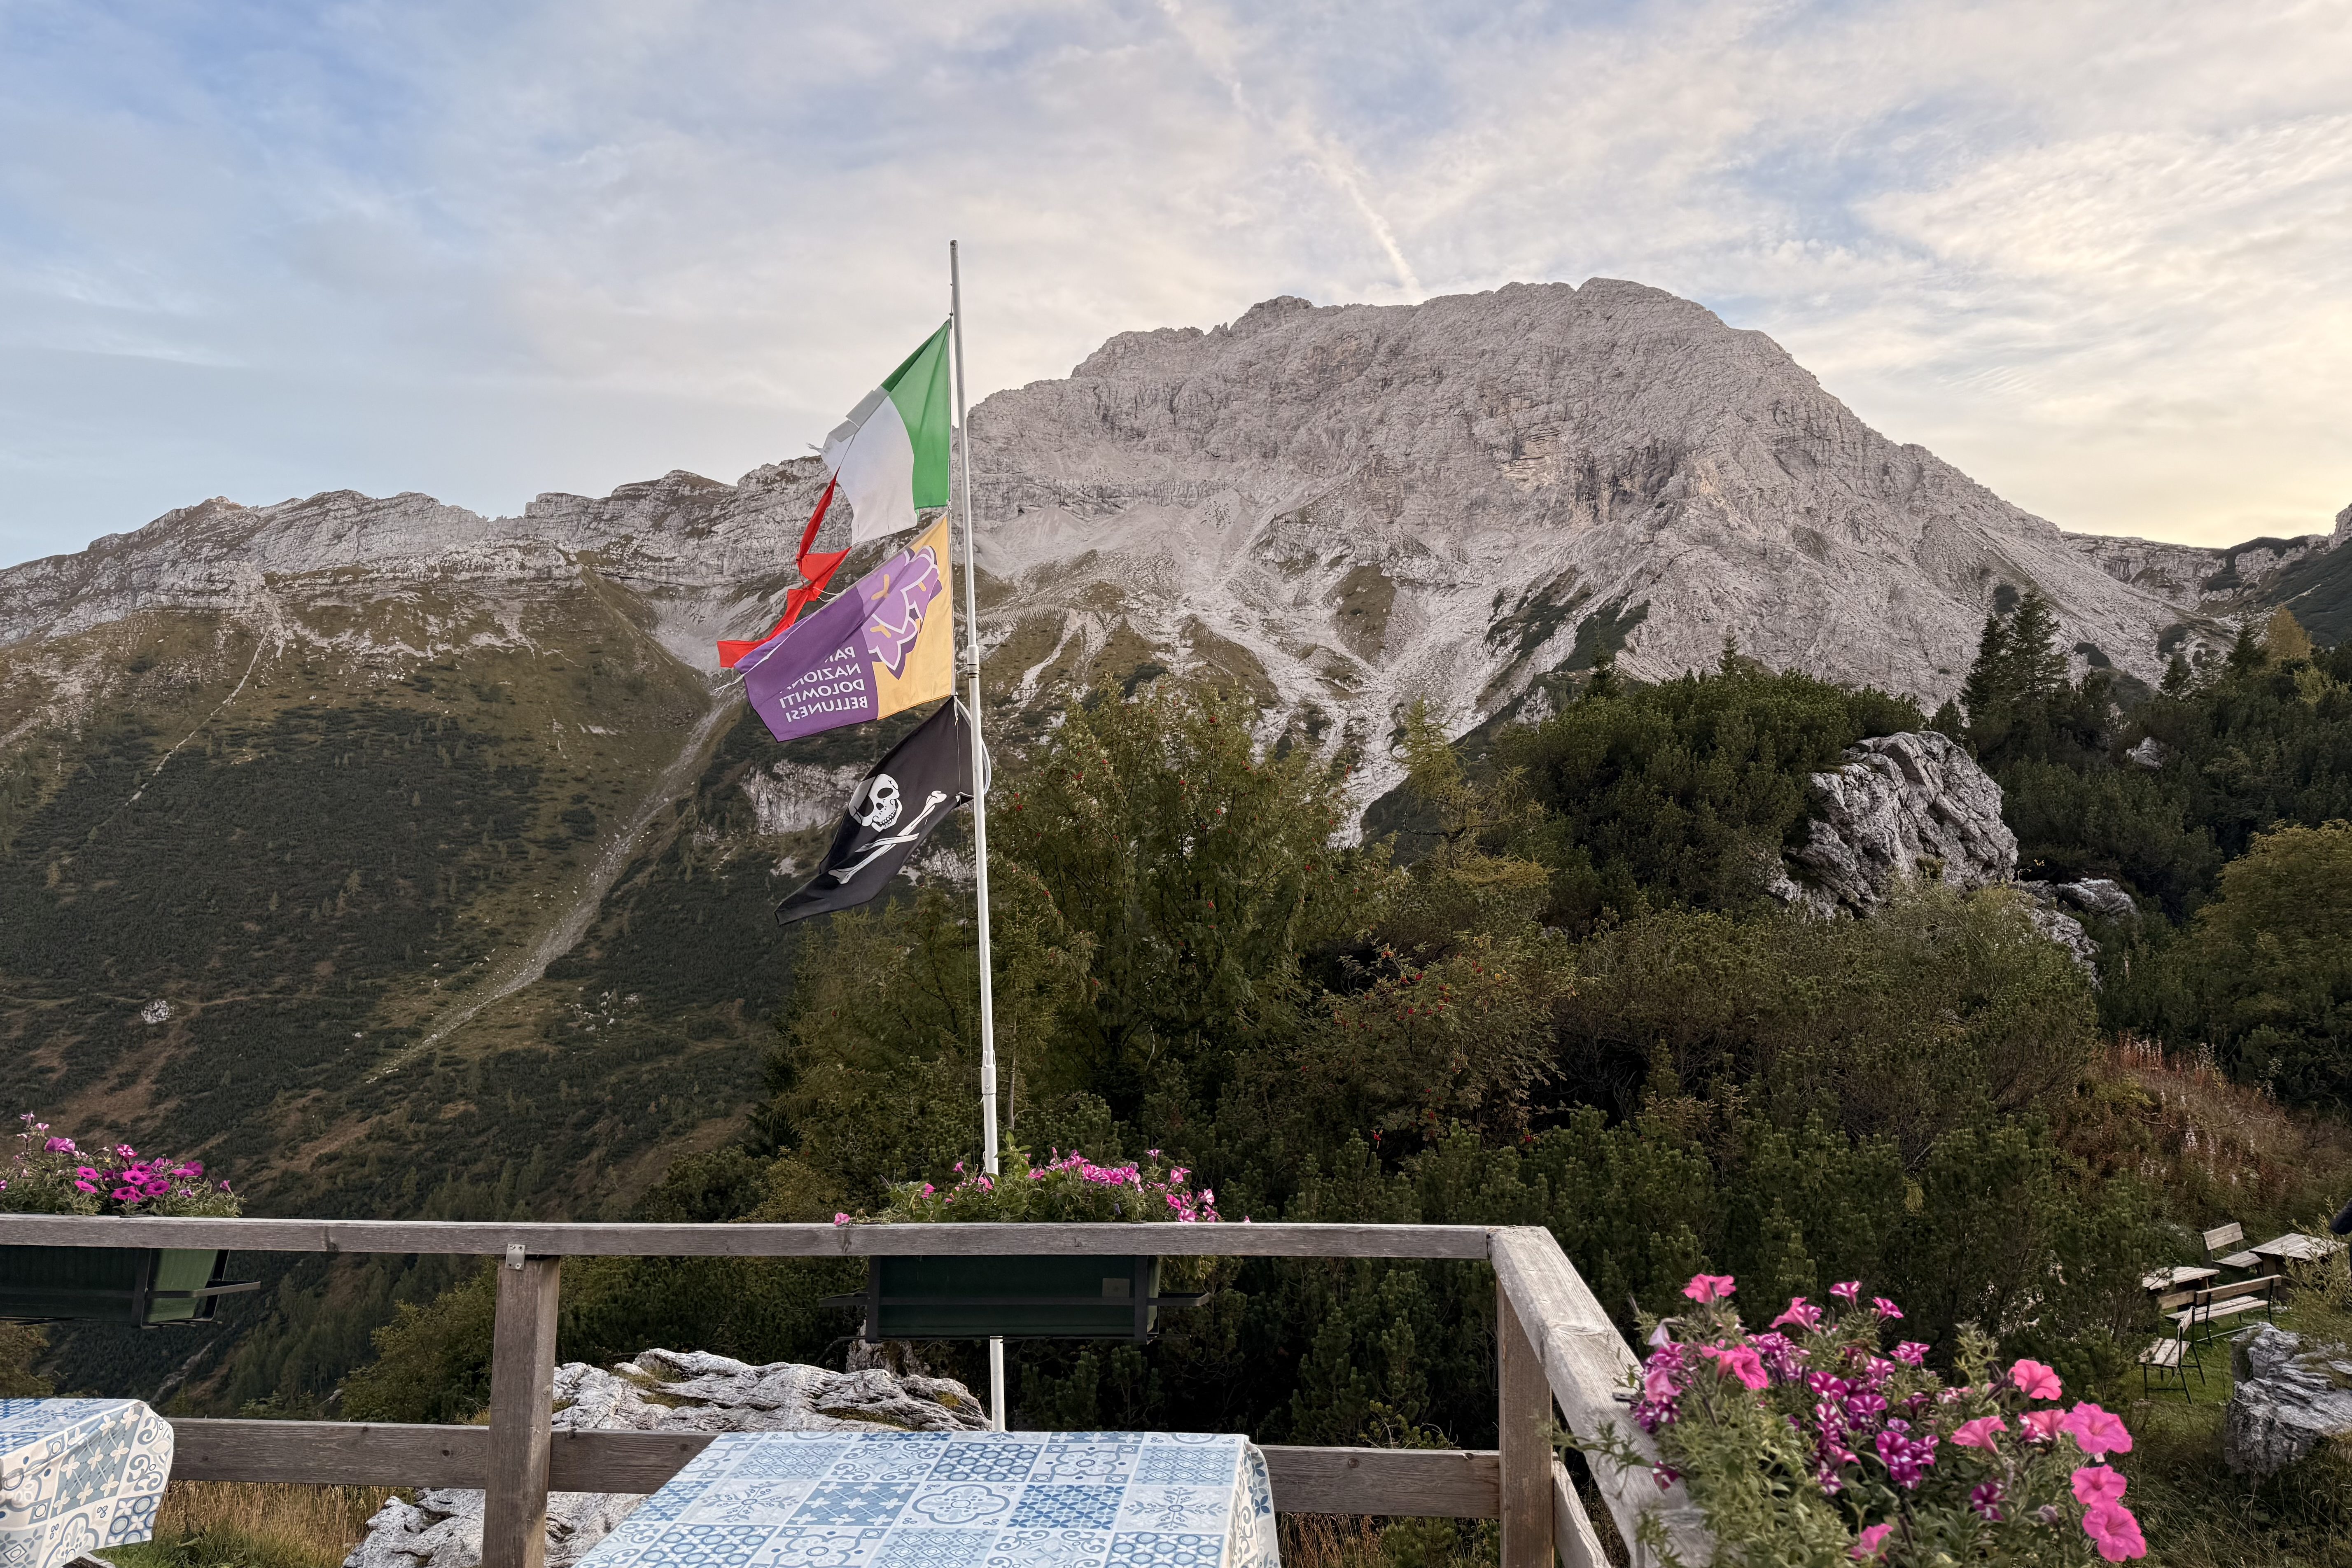
Dolomiti Passport
You can buy the Dolomiti Passport online or in Cortina. Each hut has its own stamp — collecting them became one of my favourite little rituals.
At the end in Belluno, you can take your completed passport to the Tourist Office to receive a free Alta Via 1 finisher pin.
Even if you skip the official passport, collect stamps in your journal — it’s a small thing that becomes a special memory.
How to Split the Alta Via 1 & Book Huts
Booking your own huts makes the experience more personal and flexible. Agencies can do it for you, but honestly, it’s fun to plan yourself — and you’ll appreciate every place more knowing you picked it.
If a hut is booked out, don’t stress — cancellations happen all the time. I had this experience with both Rifugio Lagazuoi and Lavarella, and after checking their websites every few days for a couple months, spots eventually opened up.
Below is my full 10-day itinerary, with details, booking links, and a few personal notes.
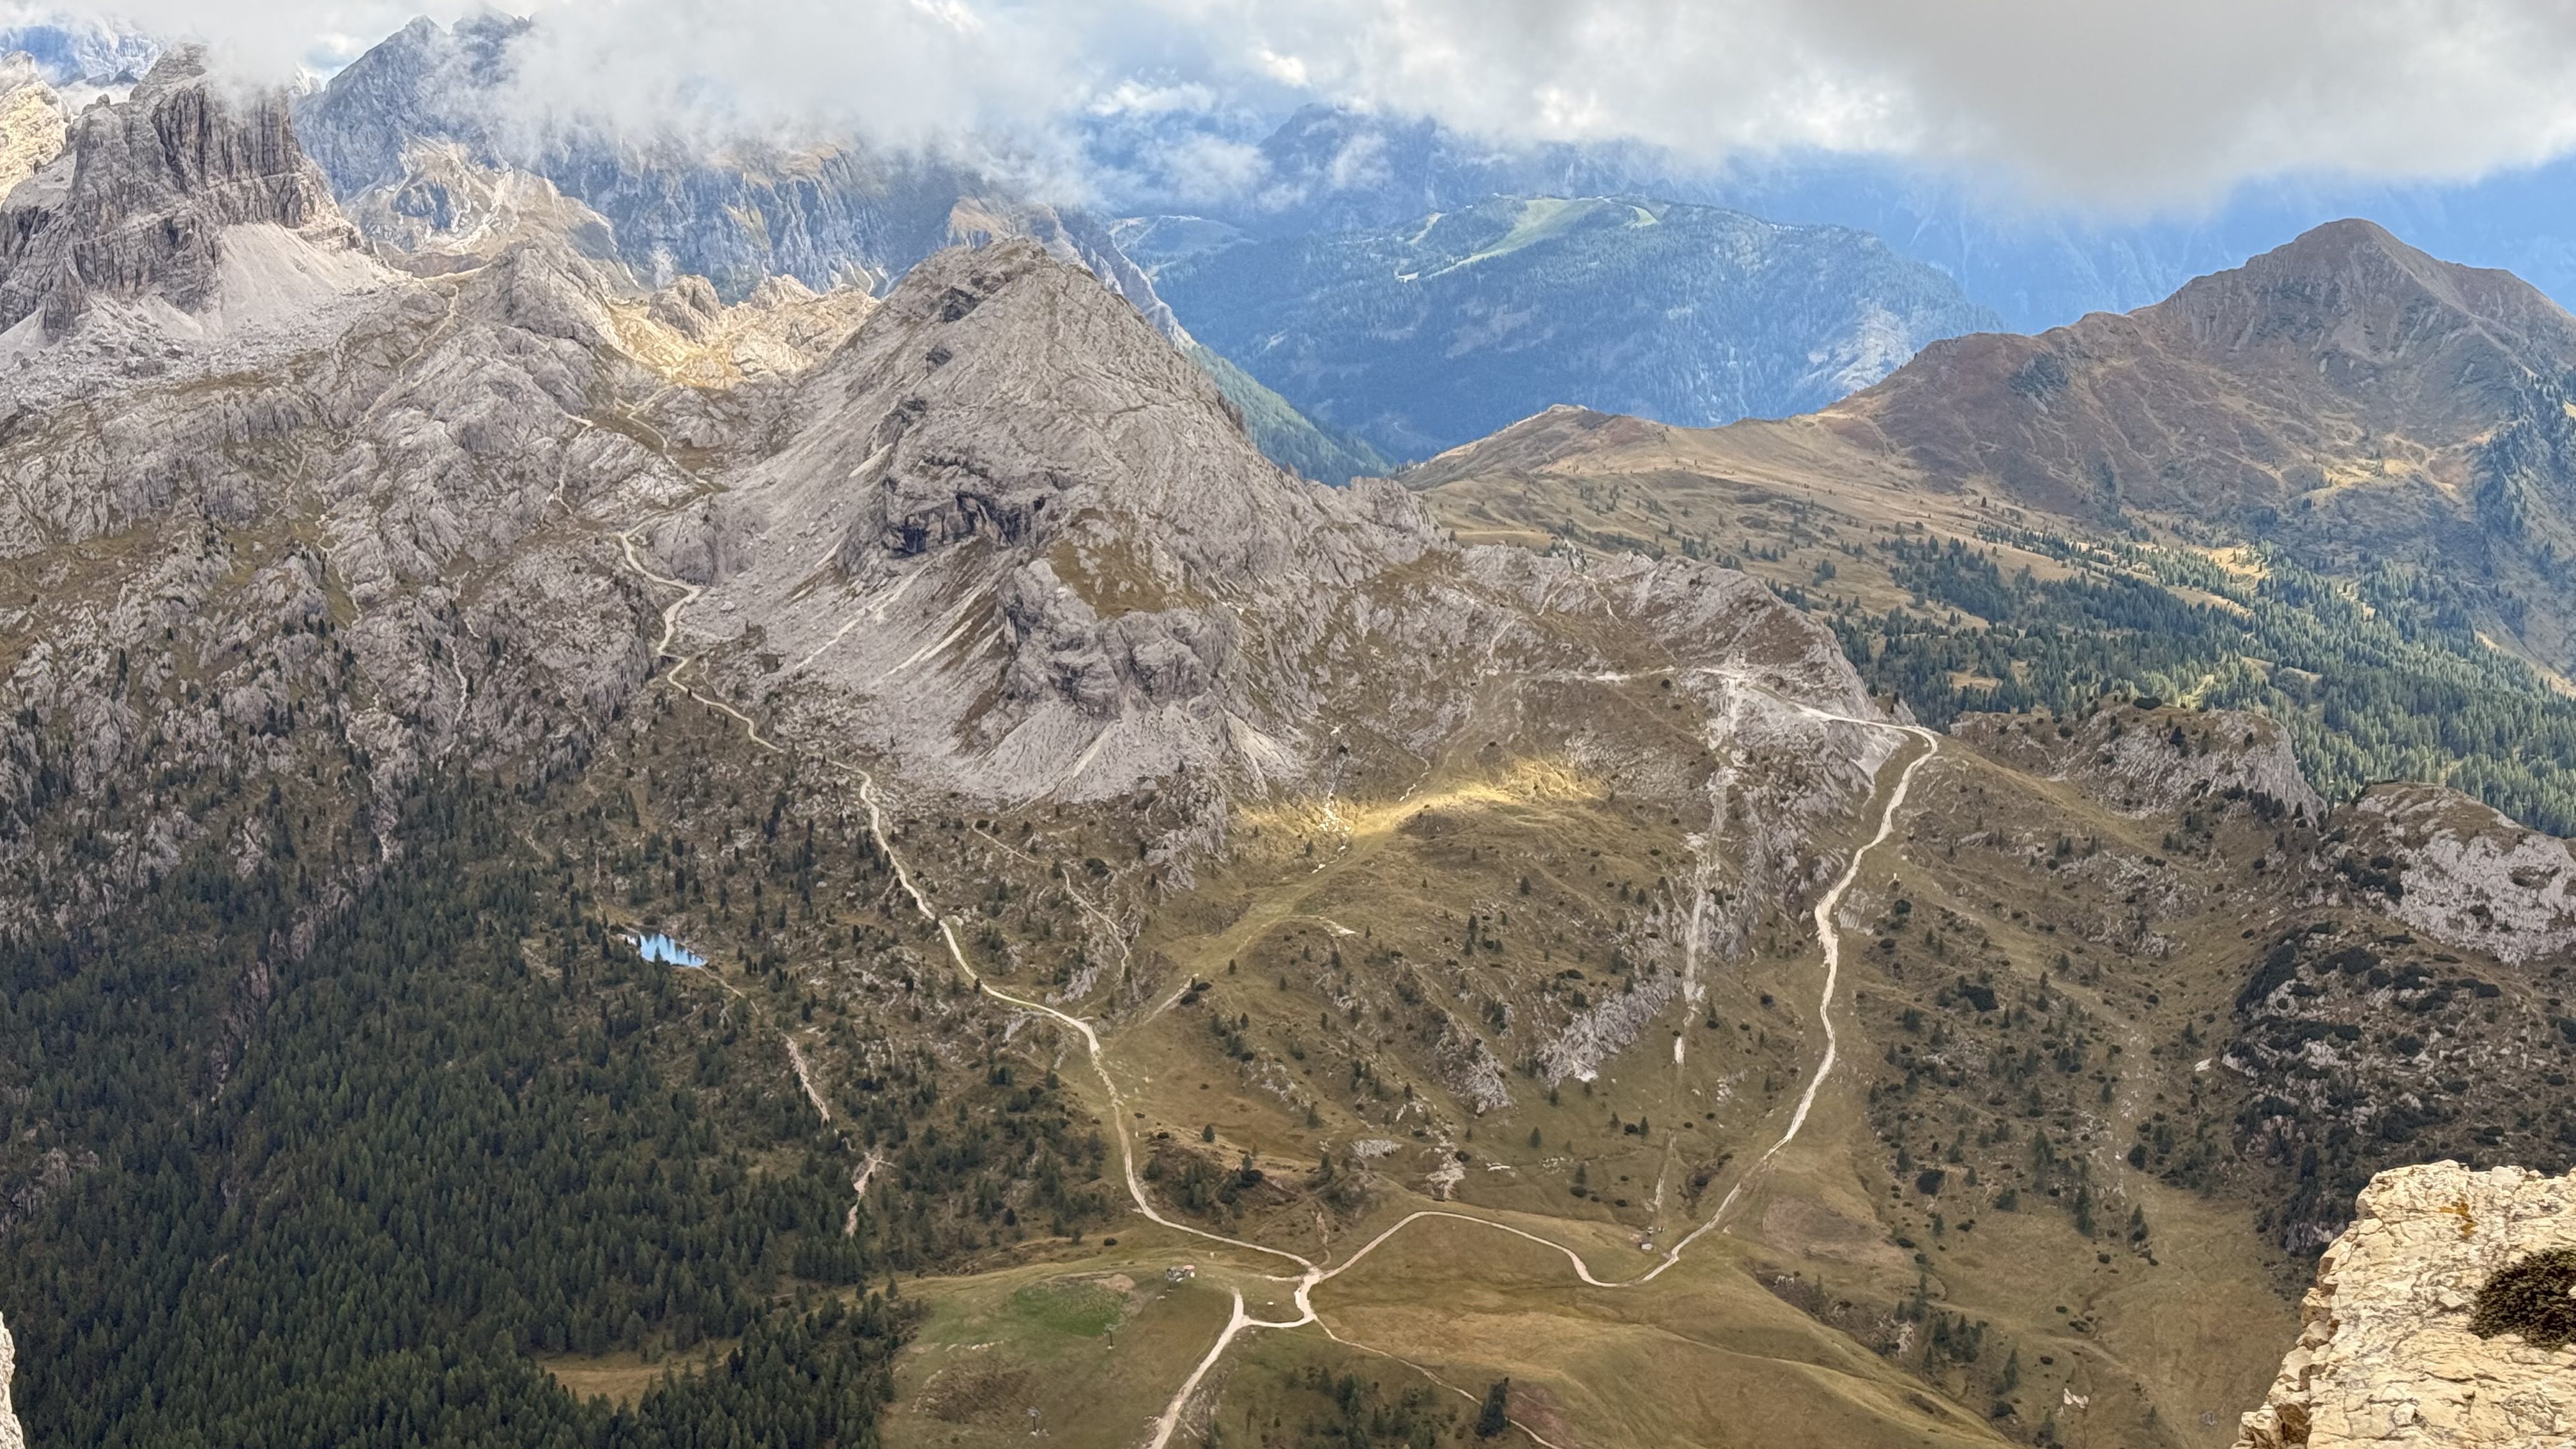
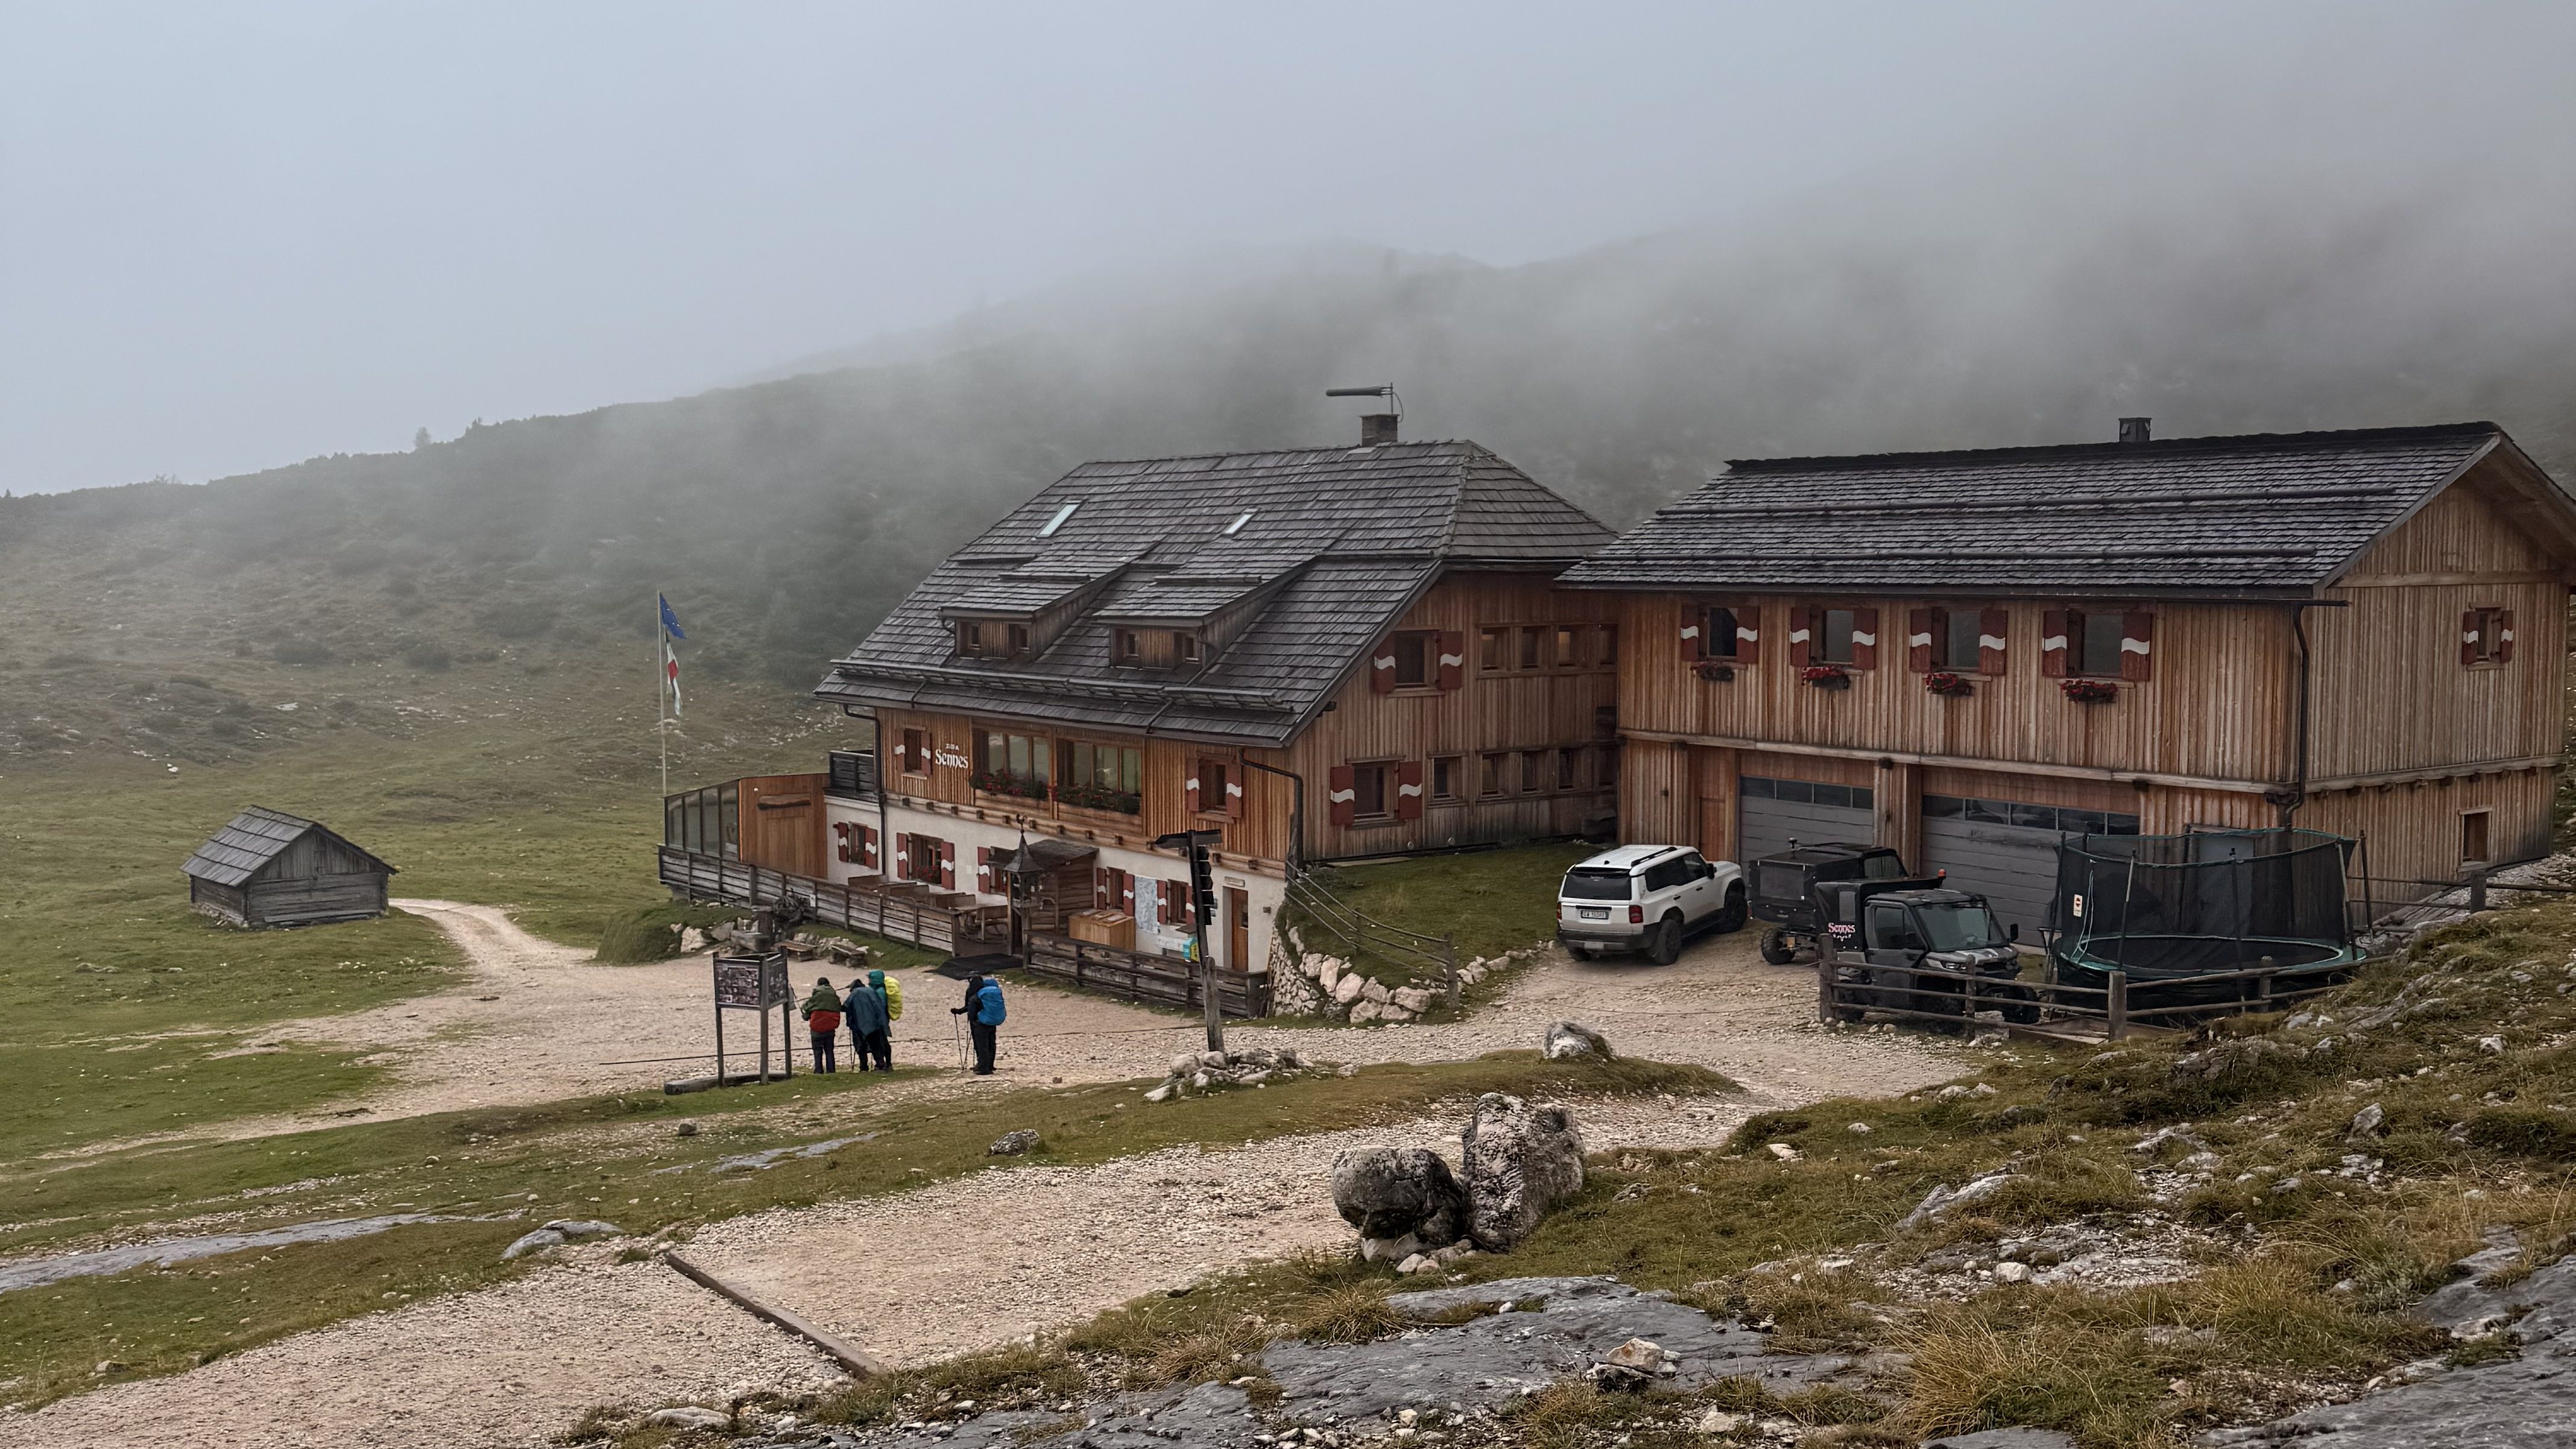
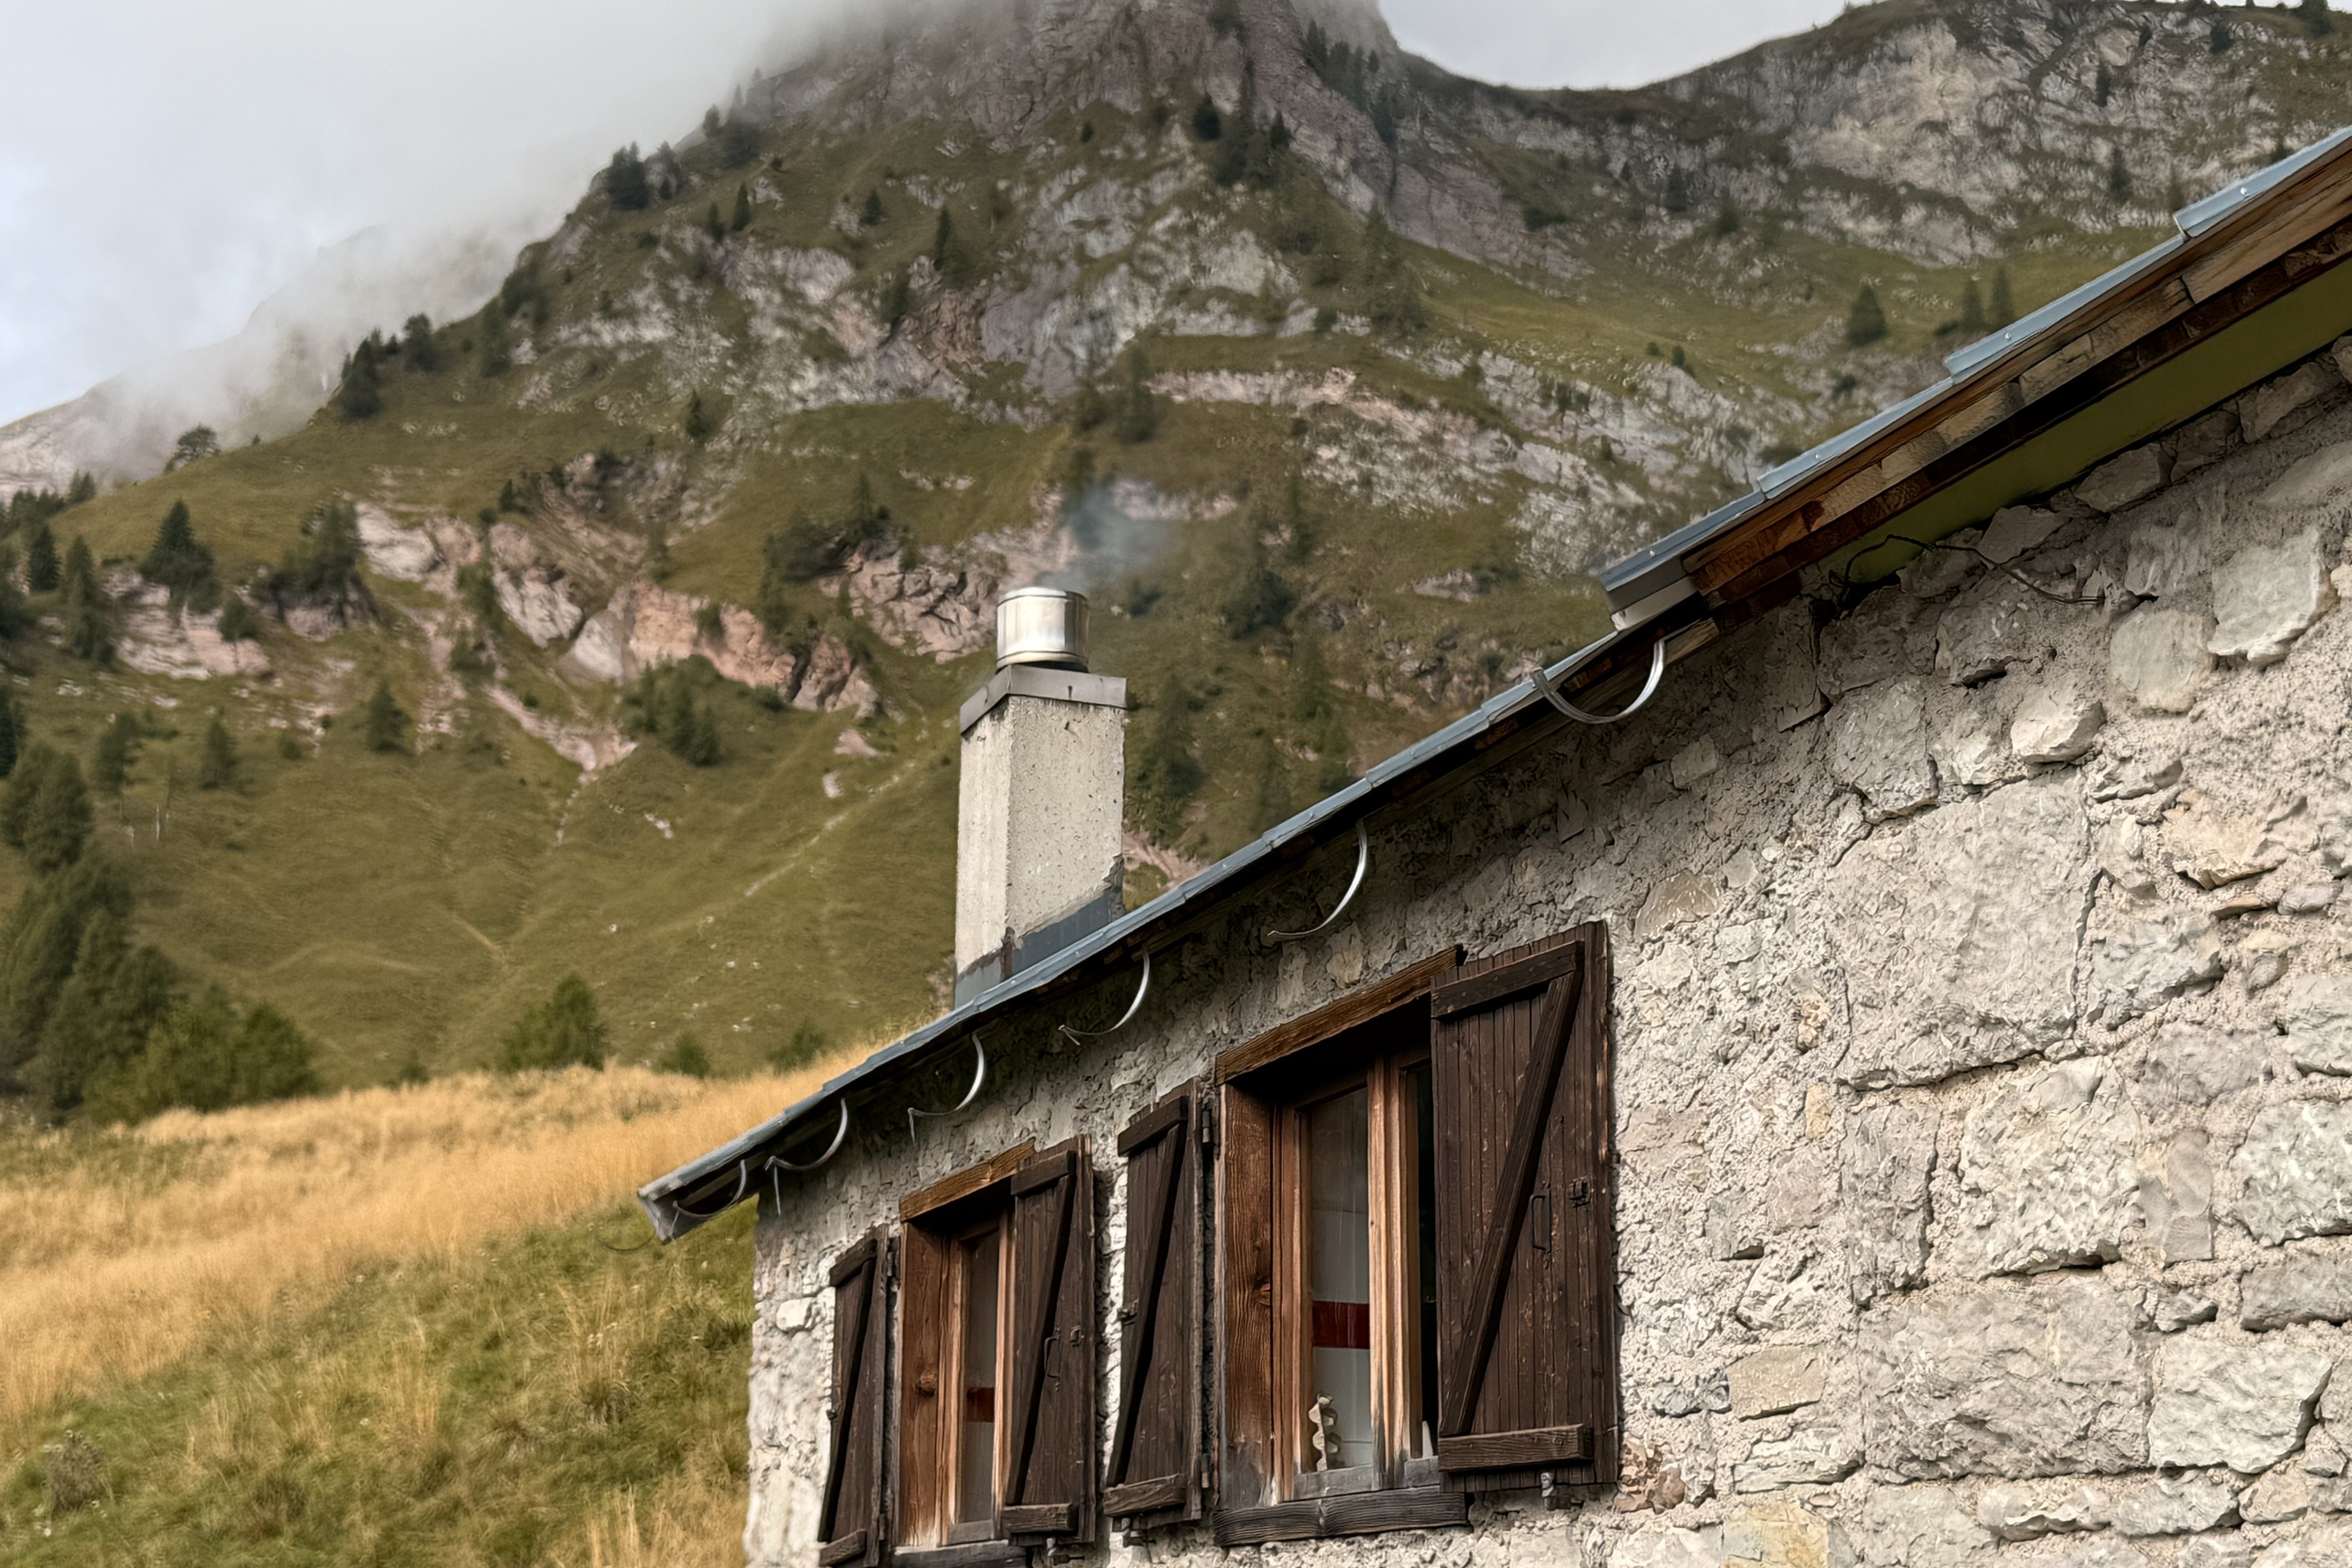
Day 1: Lago di Braies to Sennes Hütte
Distance: 9.48 km
Elevation Gain: 1,005 m
Time (incl. breaks): 5h 23m
Booking: via form on the Sennes Hütte website
Website: sennes.com/en
Wifi: weak
Signal: none
Showers: hot & free
Meals: dinner à la carte; breakfast buffet included
Sennes Hütte is cozy and comfortable, it is a wonderful first stop.
You’ll pass Rifugio Biella about an hour before Sennes. It’s a great lunch spot (good food!), but quite basic with no showers and Turkish toilets so I do recommend continuing on and staying at Sennes Hütte for your first night.
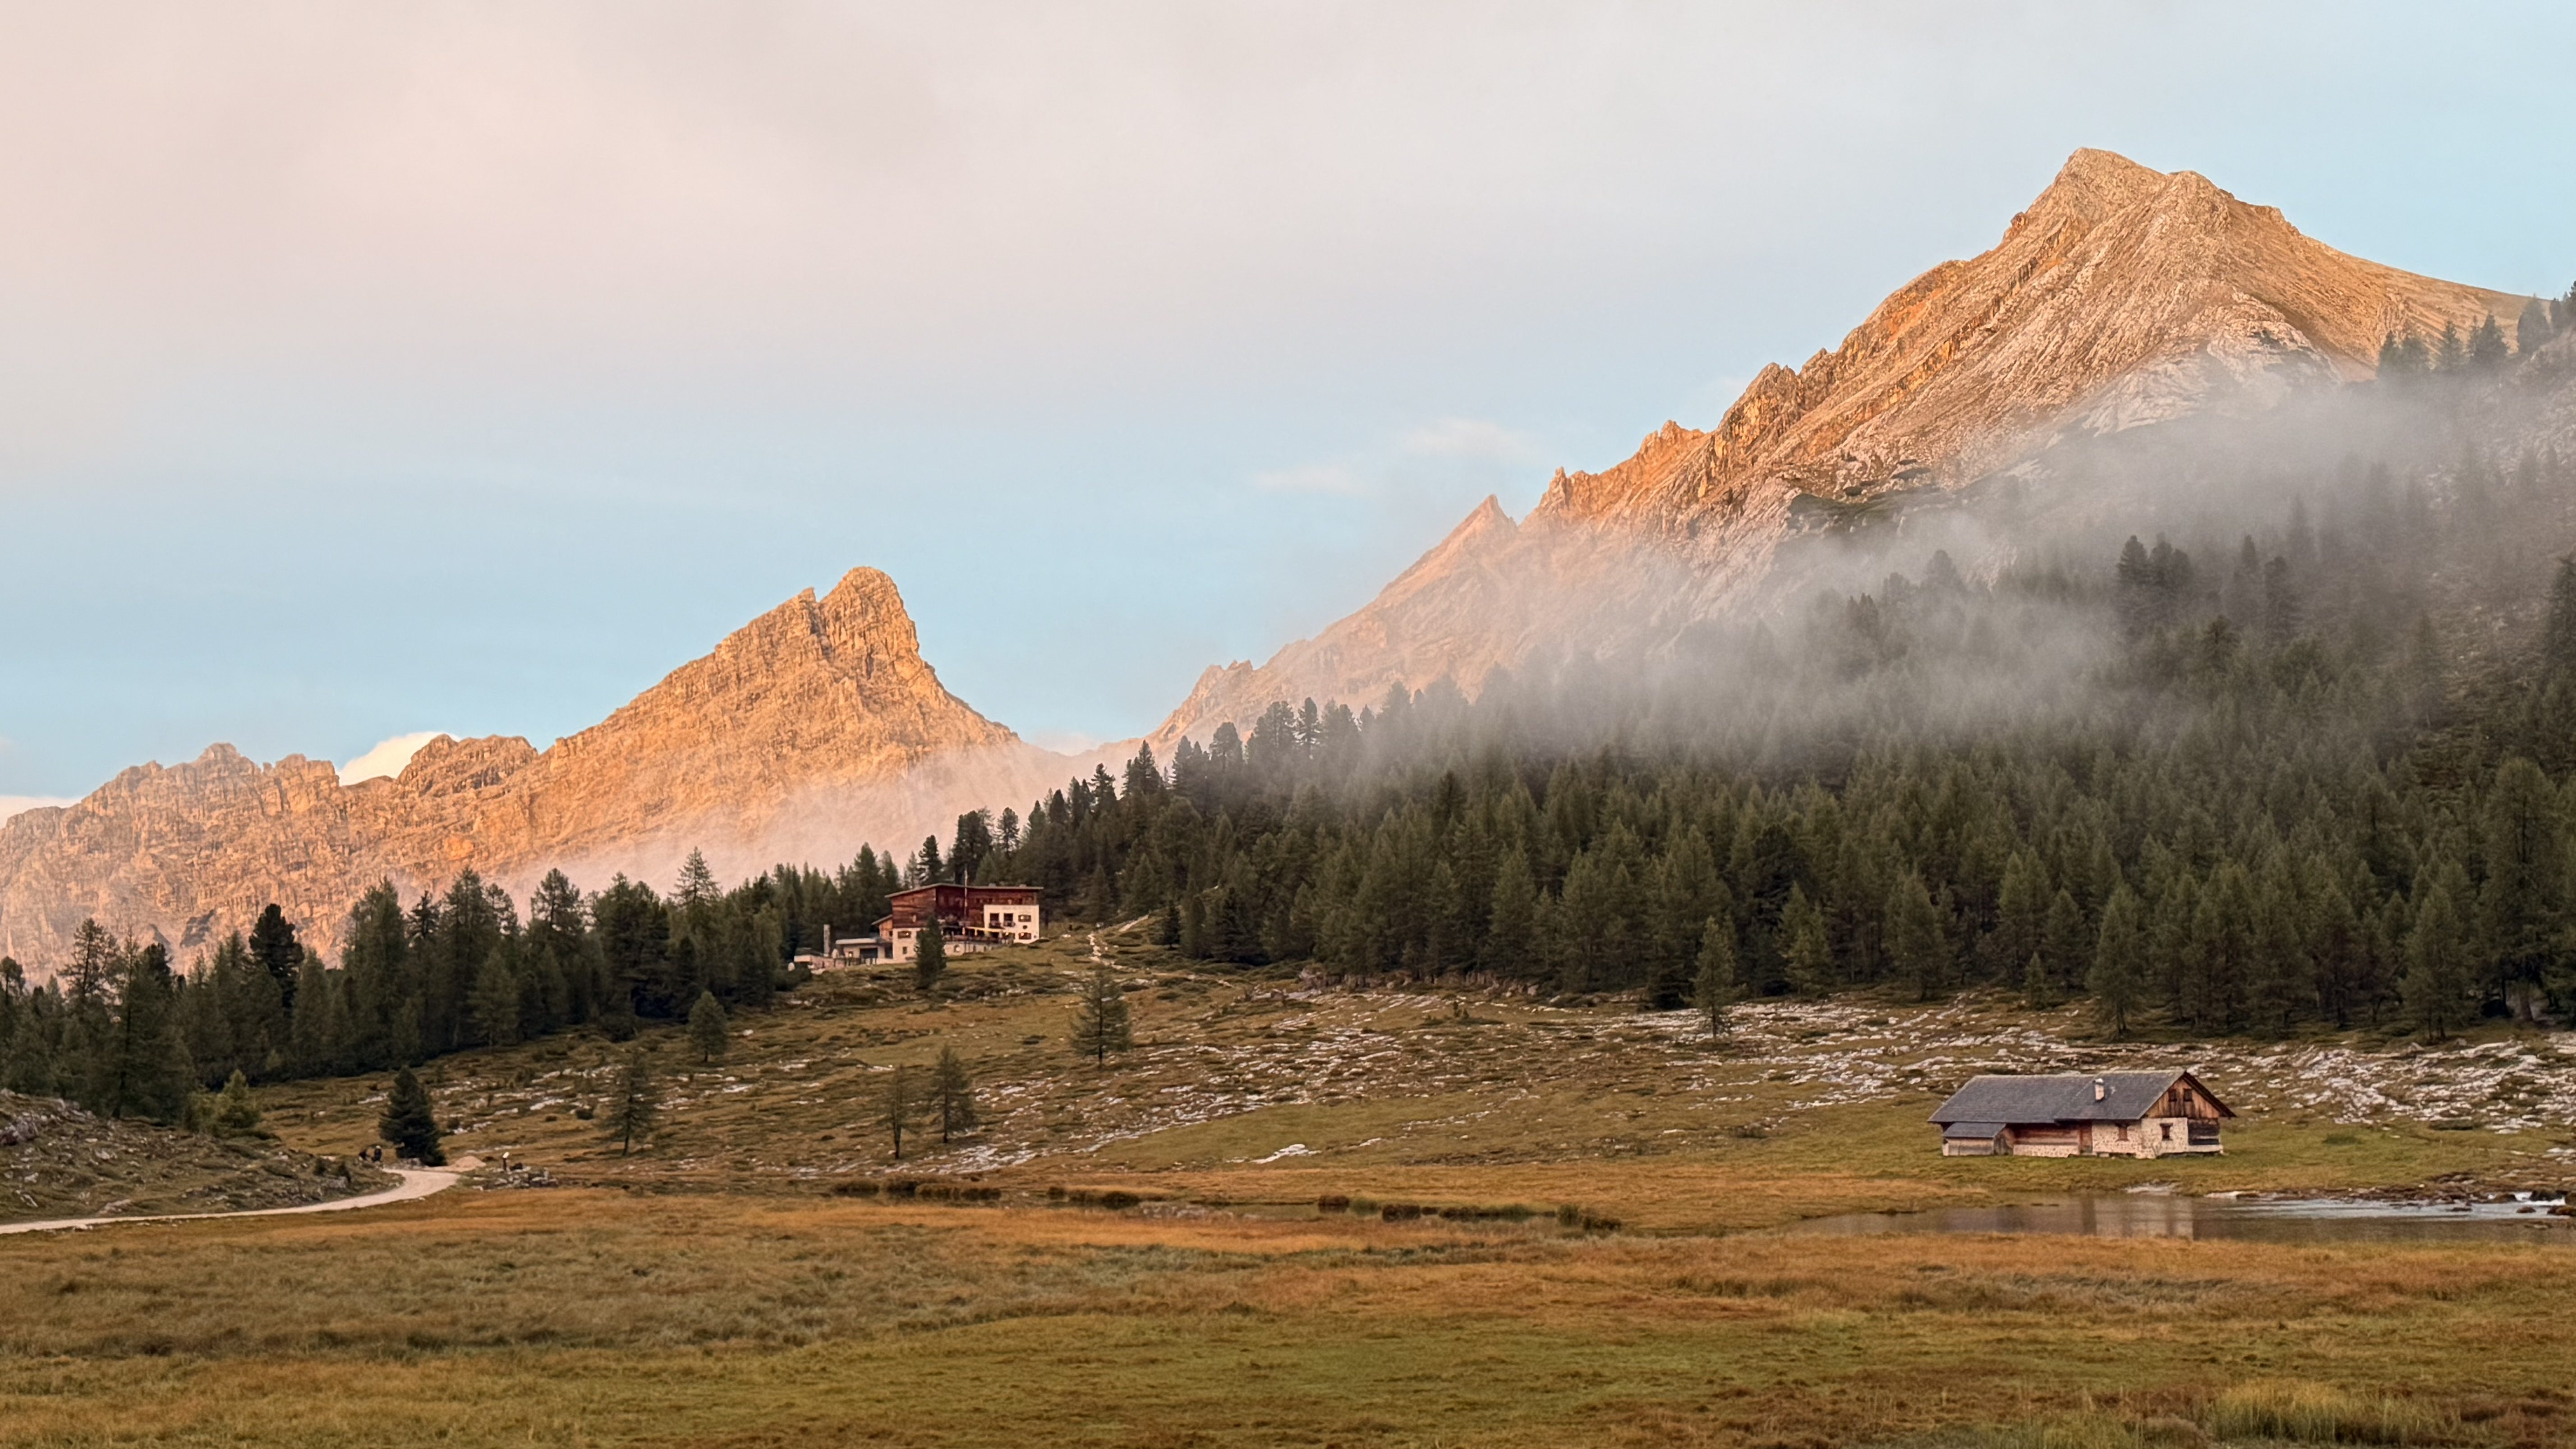
Day 2: Sennes Hütte to Rifugio Lavarella
Distance: 10.84 km
Elevation Gain: 602 m
Time (incl. breaks): 4h 27m
Booking: directly on the website lavarella.it
Wifi: strong
Signal: weak
Showers: free & hot
Meals: dinner à la carte; breakfast included
Rifugio Lavarella was my favourite hut — cozy, friendly, and with a sauna you can book upon arrival (make sure to book it right when you arrive as it does get fully booked!). It also has its own brewery, the highest in the Dolomites! Halfway from Sennes to Lavarella, you’ll pass Rifugio Pederü — a good rest stop for a cappuccino or hot chocolate.
There are two nearby huts which are Fanes and Ucia di Montagnoles – these are great options if Lavarella is fully booked.
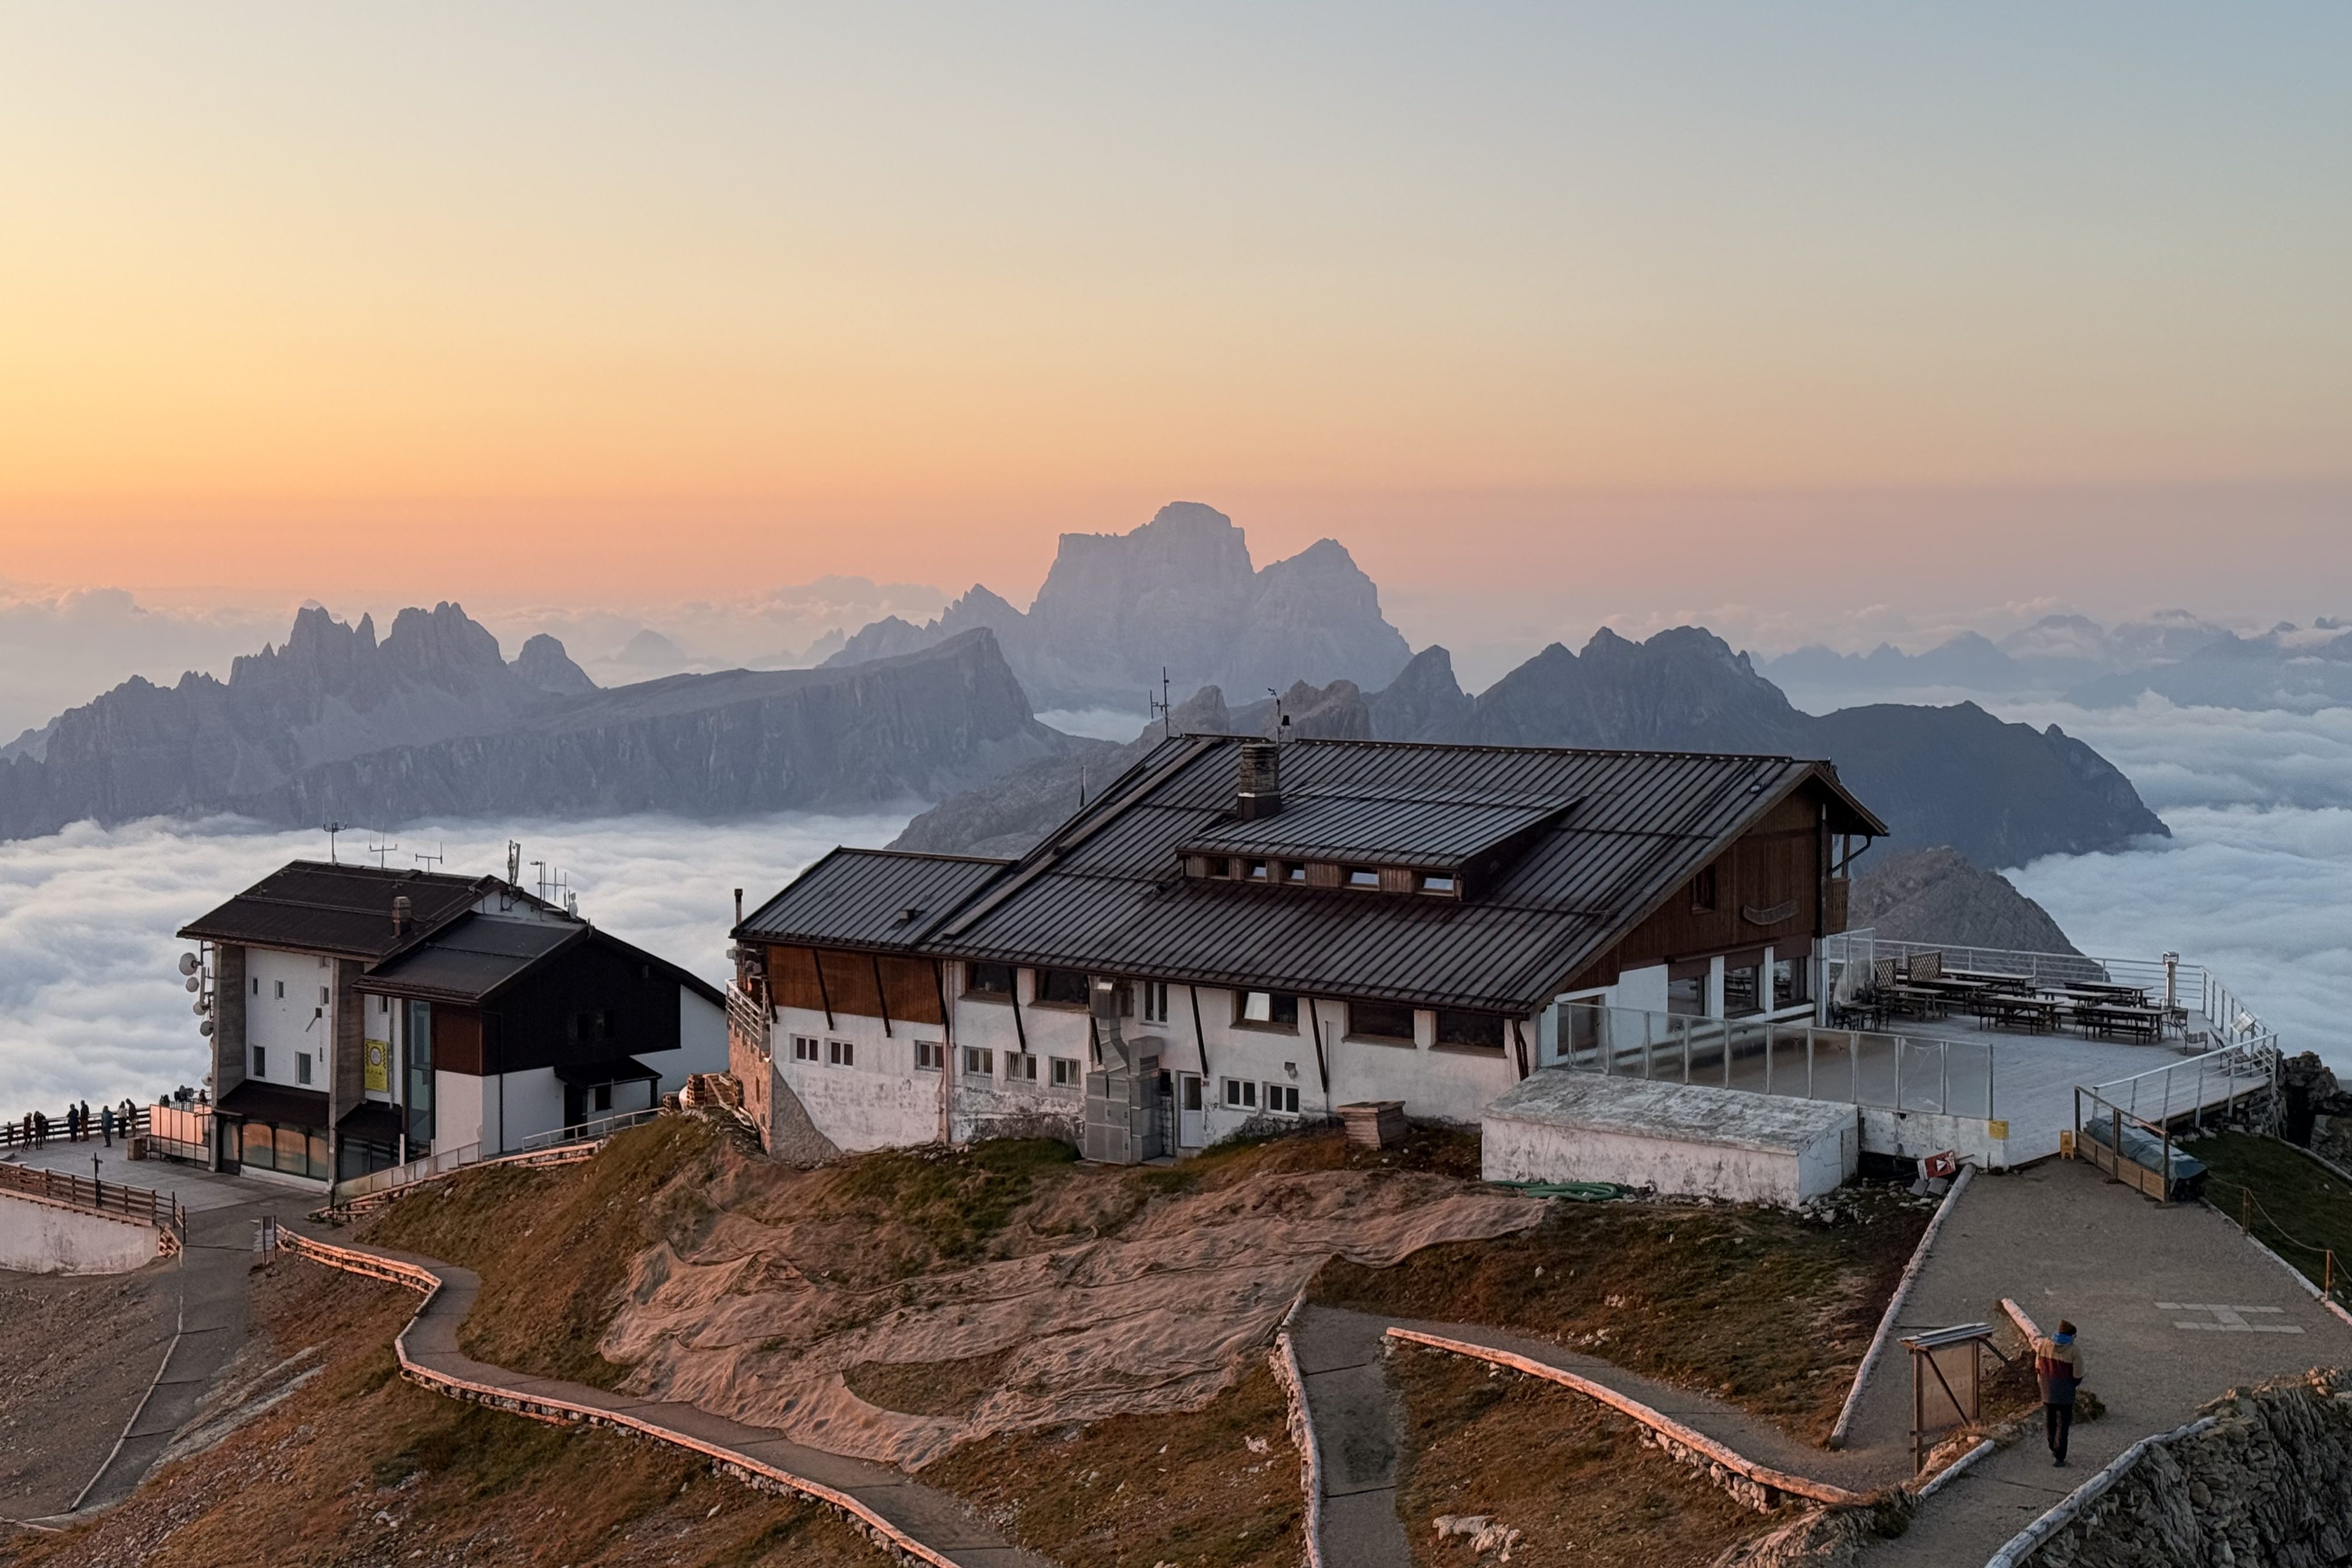
Day 3: Rifugio Lavarella to Rifugio Lagazuoi
Distance: 13.38 km
Elevation Gain: 1,161 m
Time (incl. breaks): 7h 13m
Booking: directly on the website rifugiolagazuoi.com
Wifi: good
Signal: strong
Showers: €5 for 25L of water
Meals: half board
Beautiful location, but busy due to the cable car as many people come up to do day hikes. However it’s the only hut in this area which is actually on the Alta Via 1 so it is definitely worth staying at. It has amazing views and the breakfast buffet is probably the best on Alta Via 1. Make sure to wake up early to see an incredible sunrise!
This hut also had a sauna, make sure to book it while booking your room and when you arrive at Lagazoiu make sure to select your time slot during check in. If you book the sauna, the price of the shower is included.
In between Lavarella and Lagazoiu, there’s a gorgeous alpine lake — bring a swimsuit and enjoy a quick dip. Make sure to also bring a packed lunch or snacks as there are no huts in beween Lavarella and Lagazoiu.
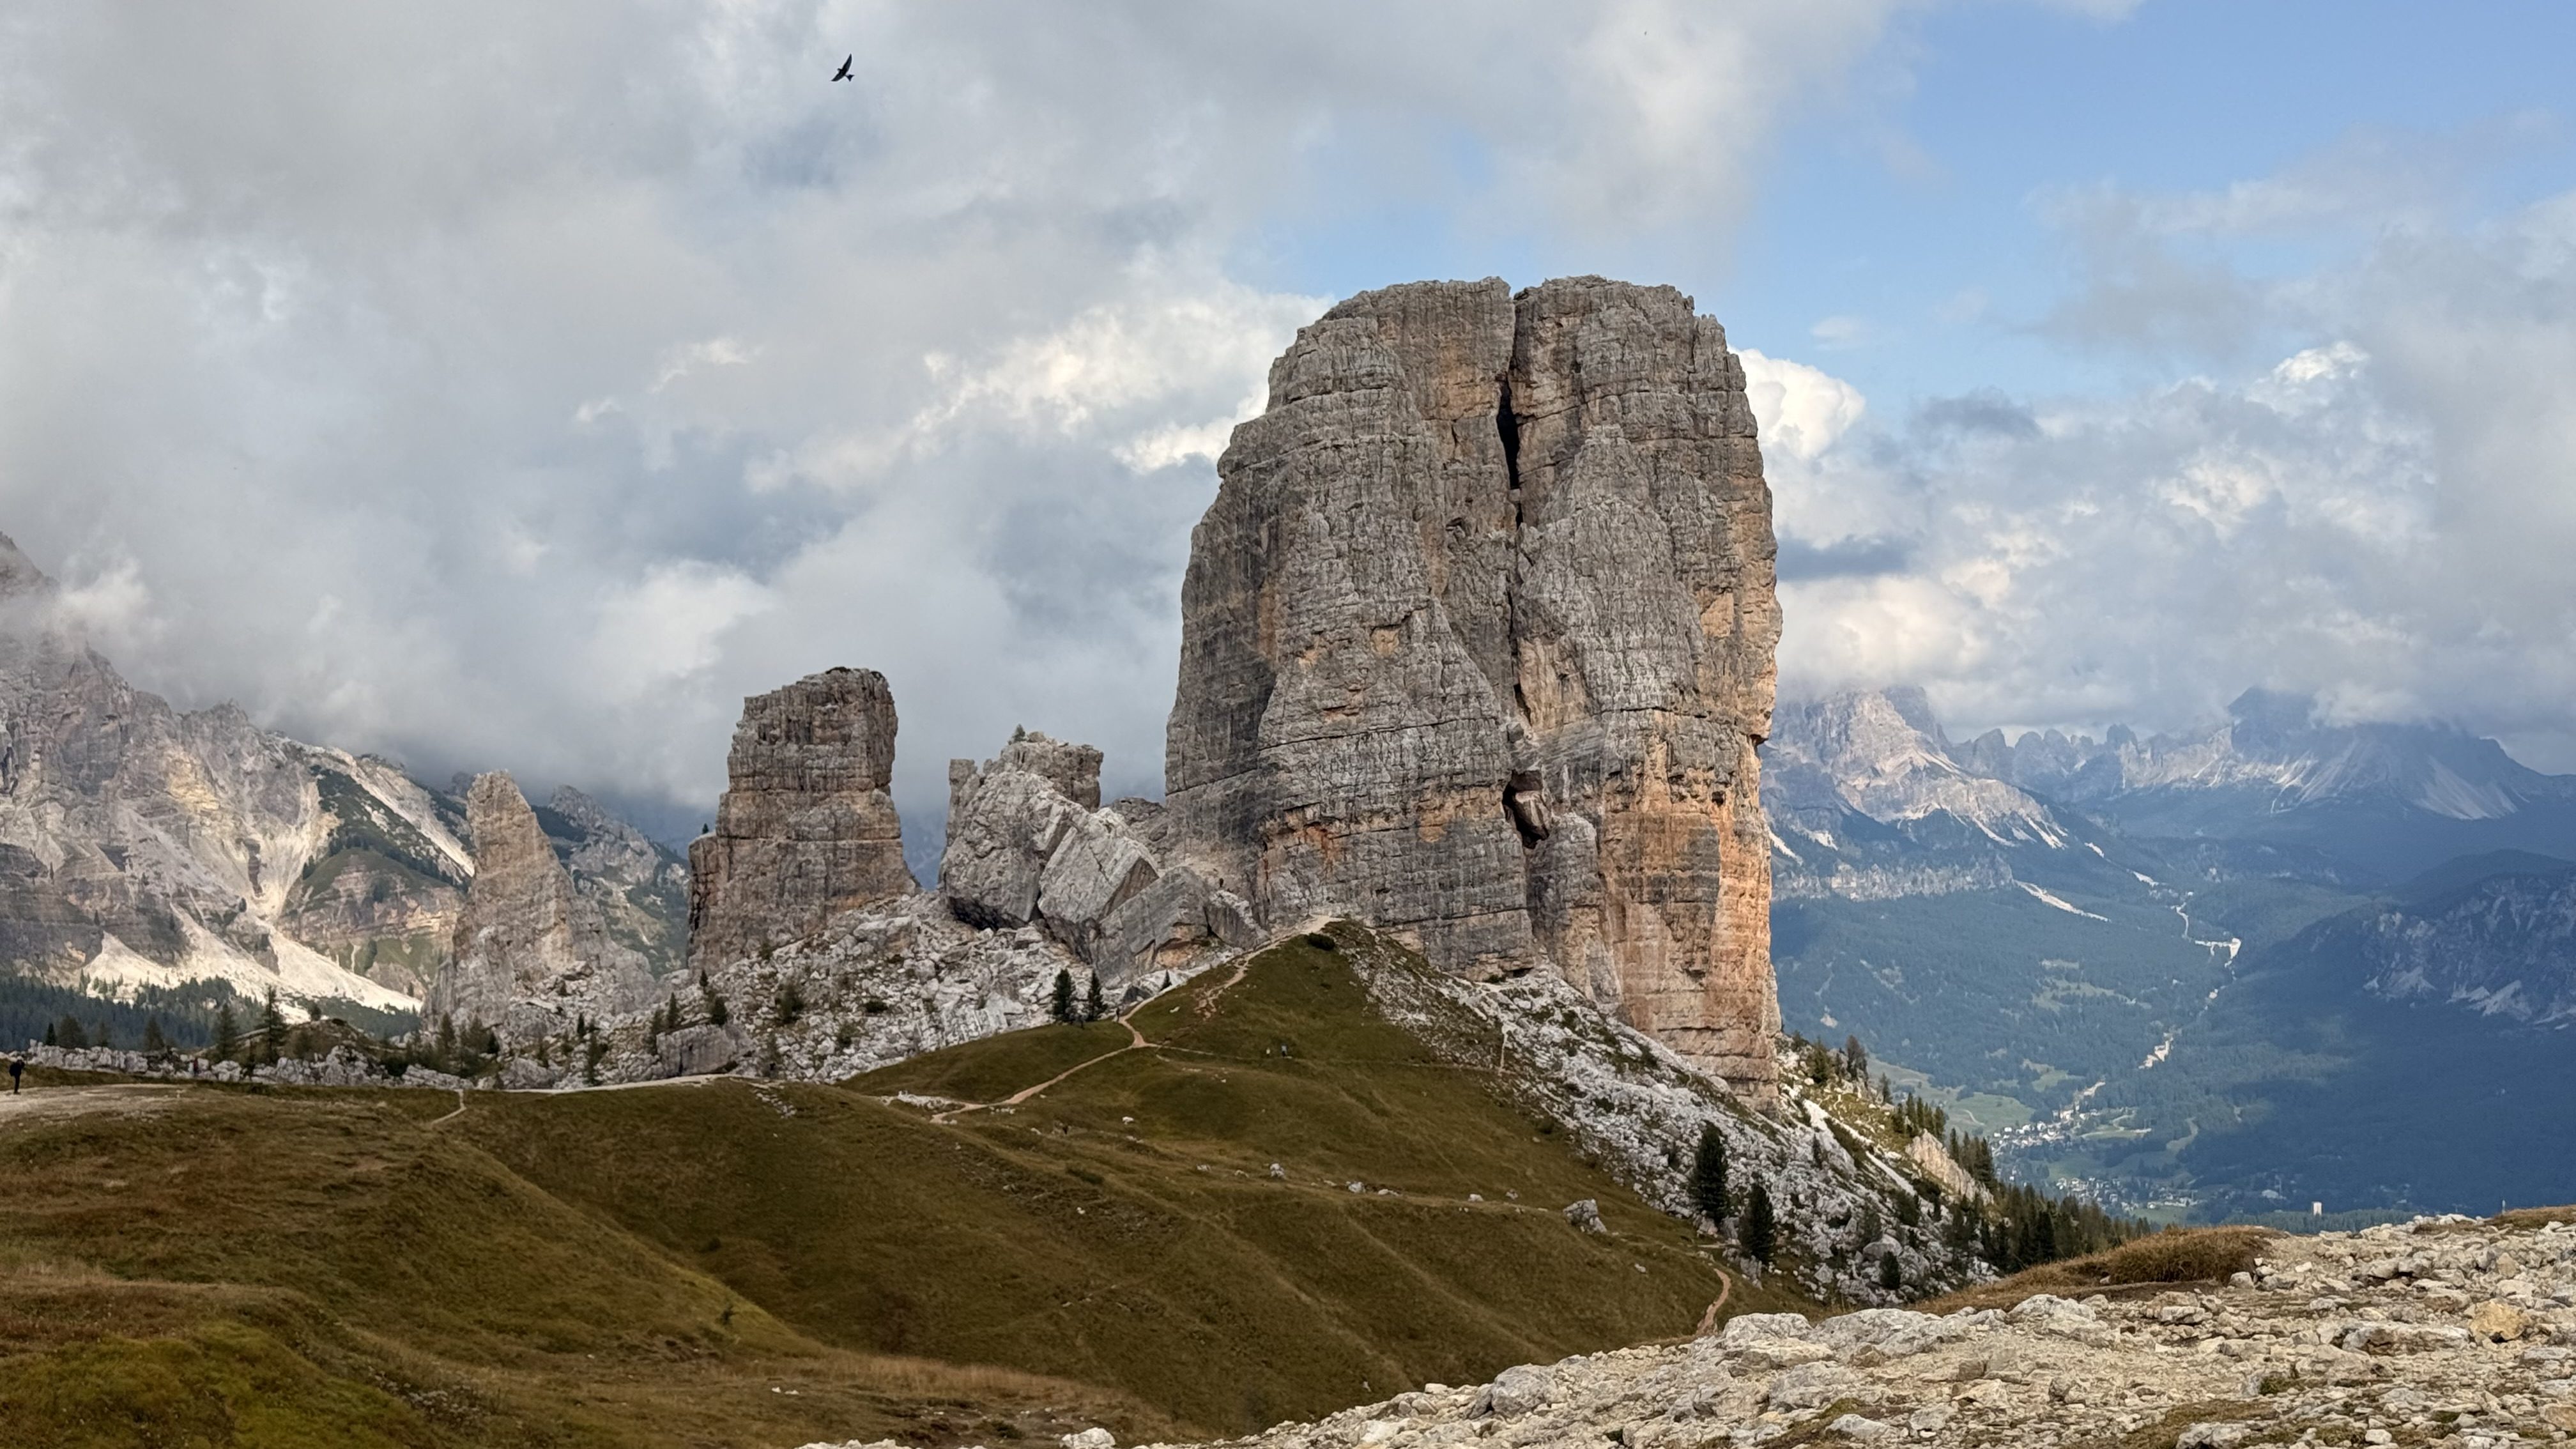
Day 4: Rifugio Lagazuoi to Rifugio Nuvolau
Distance: 14.59 km
Elevation Gain: 1,010 m
Time (incl. breaks): 7h 58m
Booking: directly on the website rifugionuvolau.it
Wifi: good
Signal: strong
Showers: €7 for 20L of water
There are several route choices to get from Rifugio Lagazoiu to Nuvolau:
- WWI tunnels (helmet & headlamp needed)
- Cable car down then hike up to Nuvolau
- Hike down near the cable car and then hike up to Nuvolau
- Classic Alta Via 1 route — longer and scenic
I decided to follow the classic Alta Via 1 route which was longer but very scenic. The majority of the hikers on this day decided to take the cable car down and then hike up to their next hut. I decided to follow the classic Alta Via 1 route and I felt it was definitely worth it. If you go with his option, make sure to stop at Rifugio Dibona for the best hot chocolate of your life.
For lunch, Rifugio Scoiattoli has great views, however I heard amazing reviews of the food at Rifuigo Averau – you can have your pick on this day!
Rifugio Nuvolau, the oldest hut in the Dolomites, was one of my favorites — cozy, historic, and welcoming. I felt I was part of history!
If Rifugio Nuvolau is fully booked, you have a few options right near it – Rifugio Scoiattoli, Cinque Torri or Averau.
Day 5: Rifugio Nuvolau to Rifugio Città di Fiume
Distance: 14.05 km
Elevation Gain: 515 m
Time (incl. breaks): 6h 35m
Booking: directly on the wesbite rifugiocittadifiume.it
Wifi: good
Signal: yes
Showers: €5 for 4 minutes
Shortly after starting the hike on this day, you will reach Passo Giau. Make sure you stop for a coffe or snack here – this is the only hut you will pass through today!
Città di Fiume is tucked under Monte Pelmo, and sunrise here is magical. If Città di Fiume is fully booked, Passo Staulanza is one hour further, but less atmospheric as it is right by a main road.
Day 6: Rifugio Città di Fiume to Rifugio Tissi
Distance: 14.01 km
Elevation Gain: 1,047 m
Time (incl. breaks): 8h 16m
Booking: directly on the website rifugiotissi.com
Payment: cash only
Wifi: none
Signal: none (except at the viewpoint)
Showers: €5 for 3 minutes
The views from Rifugio Tissi are breathtaking — overlooking Civetta and Marmolada. Beds and food were basic, but the atmosphere and location made it worth it.
On the way to Rifugio Tissi, you will pass by Rifugio Coldai. This is a great stop for lunch or even stay there if you prefer a shorter day. After Rifugio Coldai, you’ll also pass Lago Coldai, a perfect swim spot!
Day 7: Rifugio Tissi to Rifugio Carestiato
Distance: 14.96 km
Elevation Gain: 781 m
Time (incl. breaks): 7h 31m
Booking: directly on the website rifugiocarestiato.com
Wifi: yes
Signal: yes
Showers: €3 for 3 minutes
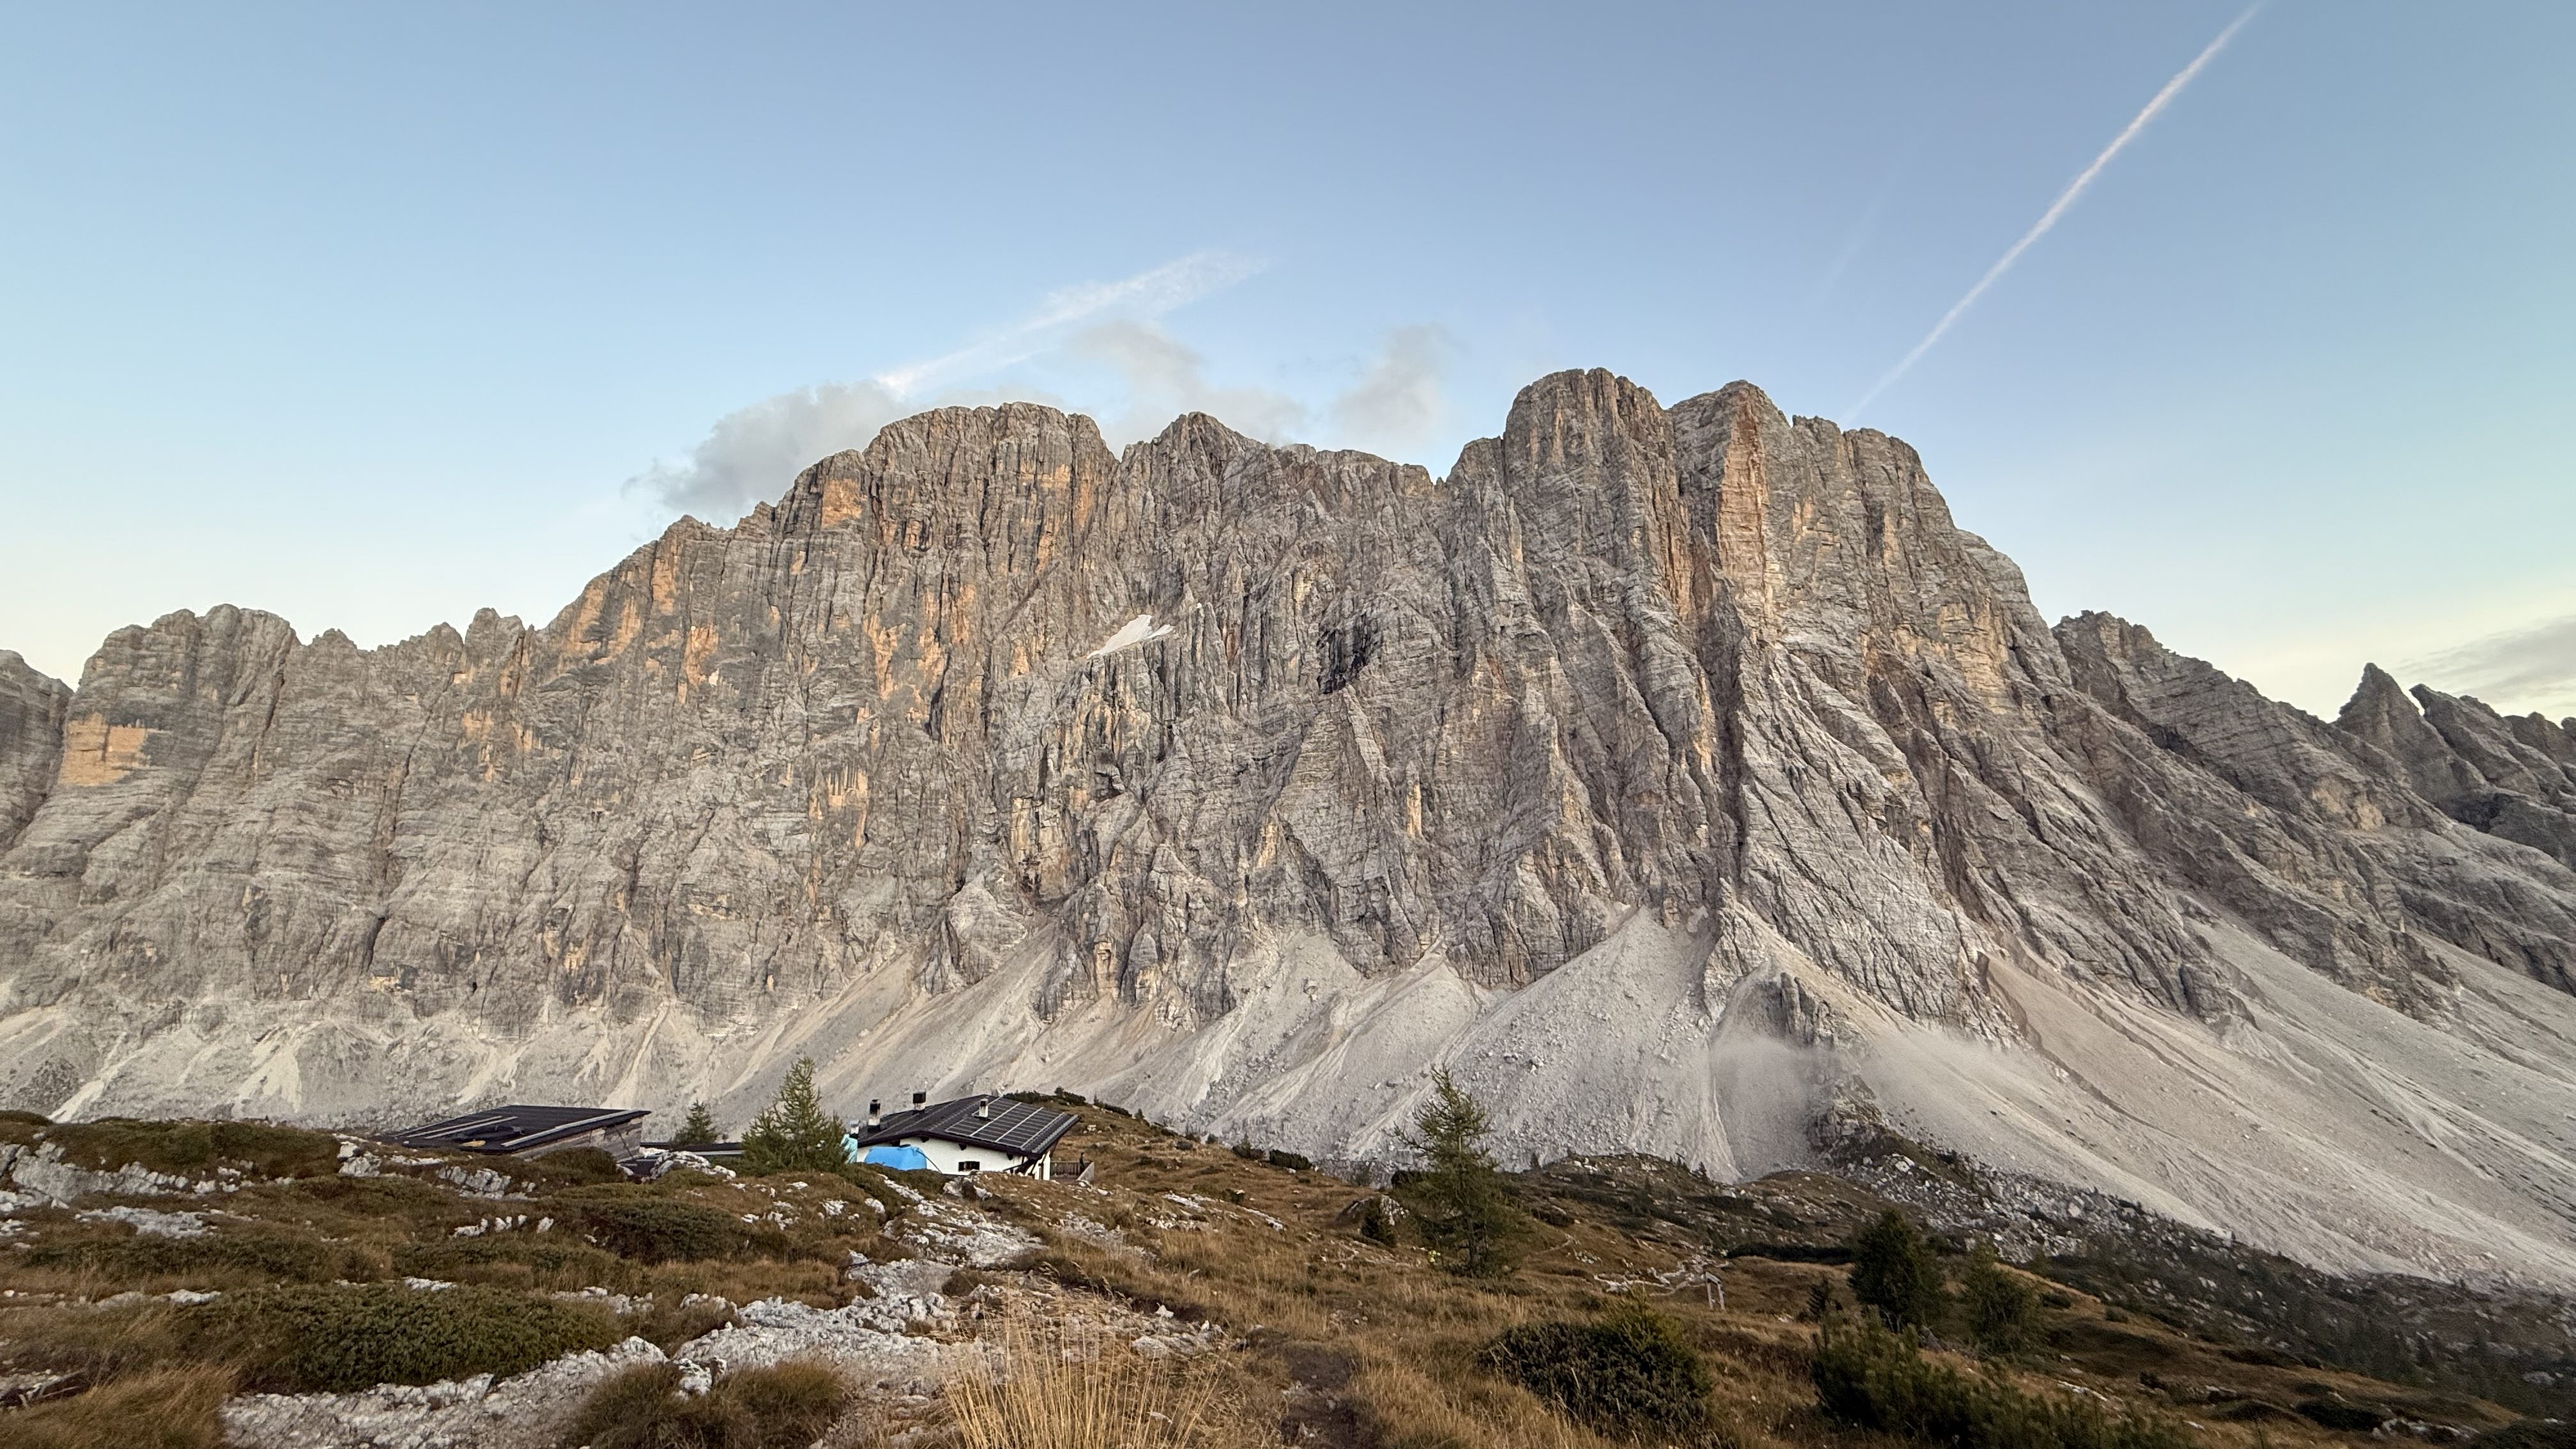
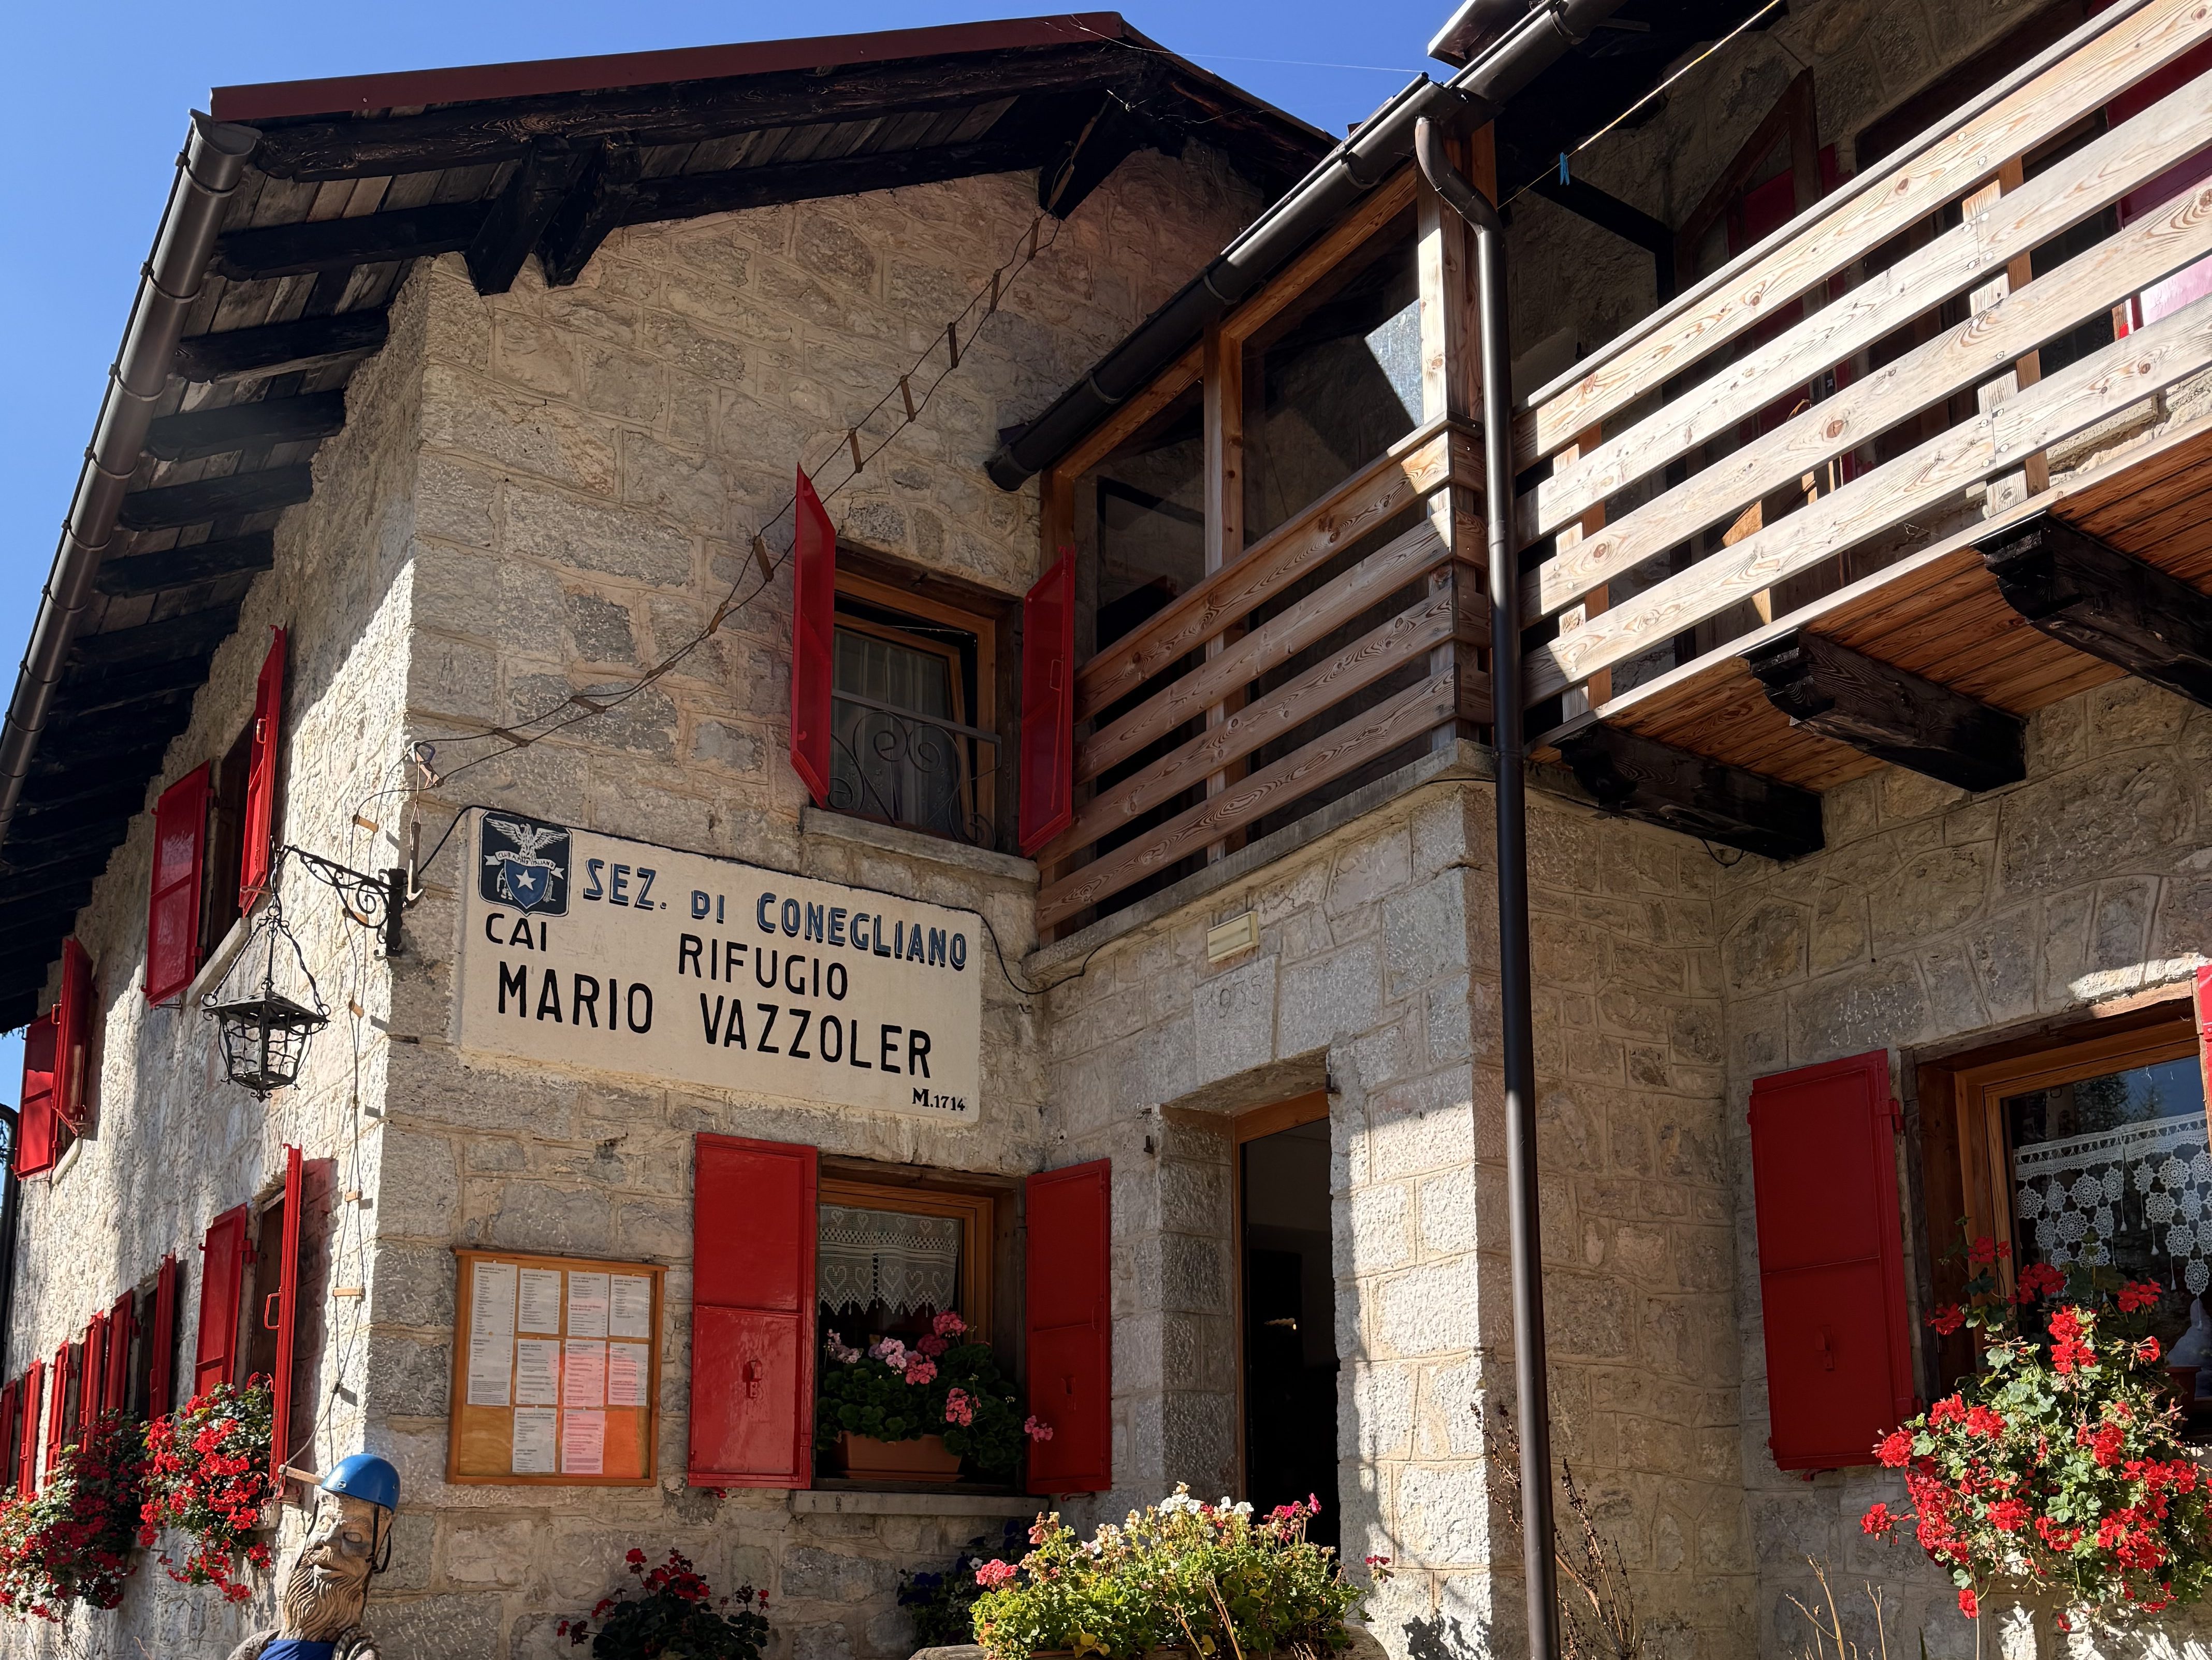
On the way to Rifugio Carestiato, you will pass by Rifugio Vazzoler (cash only accepted). For those who spent the previous night at Rifugio Coldai, Rifugio Vazzoler is the most logical next overnight stop. There are no other huts between Vazzoler and Carestiato, make sure to bring lunch or snacks.
Rifugio Carestiato is larger, with comfy beds and okay food. Laundry service available although pricey.
If full, check Rifugio San Sebastiano or Passo Duran nearby — both are by the road however they are decent options.
Day 8: Rifugio Carestiato to Rifugio Pramperet
Distance: 14.23 km
Elevation Gain: 762 m
Time (incl. breaks): 5h 59m
Booking: email info@rifugiosommarivaalpramperet.it
Website: rifugiosommarivaalpramperet.it
Wifi: €1 for 500MB (1 token limit per person)
Signal: none
Showers: €5 for 2 minutes
Stop early for a coffee at Rifugio San Sebastiano or Passo Duran. There are no huts between there and Pramperet, so pack lunch or snacks.
Rifugio Pramperet is simple but wonderful — cozy, welcoming, great food, and beautiful surroundings.
Day 9: Rifugio Pramperet to Rifugio Bianchet
Distance: 11.77 km
Elevation Gain: 846 m
Time (incl. breaks): 7h 19m
Booking: email rifugiobianchet@hotmail.com
Wifi: weak
Signal: none
Showers: €5 for 3 minutes
After about 4 hours of leaving Rifugio Pramperet, you’ll reach Rifugio Pian de Fontana, a great lunch or overnight option. If I did this again, I’d either stay there for the night or continue straight to La Pissa in one long day — many hikers do.
Rifugio Bianchet was fine — nice staff and decent food, but nothing special.
Day 10: Rifugio Bianchet to La Pissa Bus Stop
Distance: 7.29 km
Elevation Gain: 36 m
Time (incl. breaks): 2h 26m
Bus schedules at Bianchet were incomplete — there are more buses than listed. Once you reach the bus stop, you will be able to check the full bus schedule.
I hiked down to La Pissa, took the bus to Belluno, and visited the Tourist Office to show my Dolomiti Passport and get my Alta Via 1 finisher pin. You can also sign the finisher’s book and take a photo with the official sign.
From Belluno, I took the train back to Venice and stayed one night before flying home.
💡 Tip: If you can, stay a night in Belluno to rest before heading back.

Leave a comment